Water stains are common in older Hoboken homes, but you can't just paint over them. This guide explains what causes water stains, why painting over them fails, the correct step-by-step repair process, and how to prepare water-damaged walls for a lasting paint job.
Water stains on walls and ceilings are one of the most common problems in older Hoboken homes. Brownish rings on a ceiling, yellow streaks down a wall, bubbling or peeling paint near a window — these are all signs that water has made its way into your wall or ceiling. And the first question most homeowners ask is: "Can I just paint over it?"
The answer is no. Painting over a water stain without addressing the underlying moisture problem is one of the most reliable ways to waste money on paint. The stain will bleed through, the paint will fail, and the moisture that caused the stain will continue damaging the wall behind the new paint. This guide explains what causes water stains in Hoboken homes, why you can't just paint over them, the correct step-by-step repair process, how to identify and fix the moisture source, how to assess and repair the damaged material, what stain-blocking primers do, and when to call a professional.
What Causes Water Stains in Hoboken Homes
Water stains have a source, and finding that source is the first job. In Hoboken's older buildings, the usual suspects are:
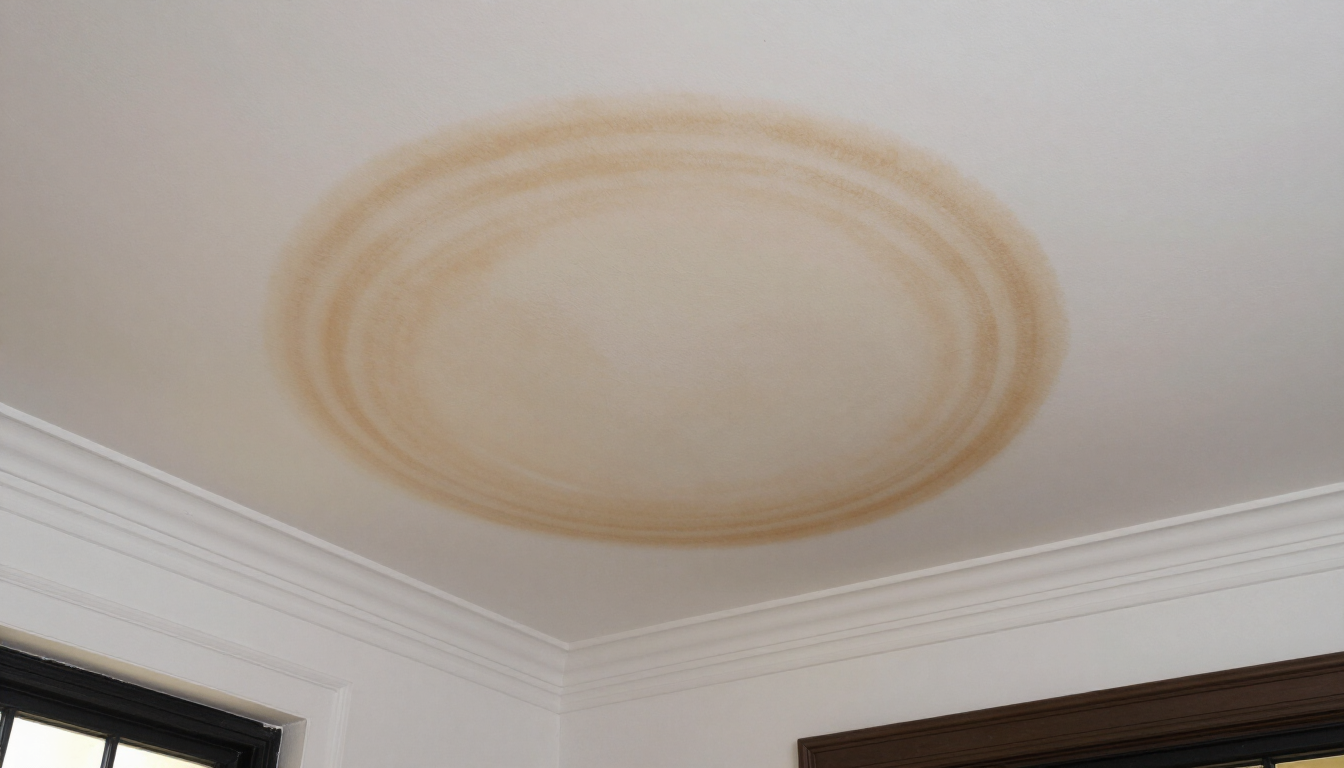
- Roof leaks — common in older brownstones with aging roofs; water travels along joists and shows up as ceiling stains far from the actual entry point.
- Plumbing leaks — a slow leak in a pipe above or behind the wall can stain ceilings and walls for months before it's detected.
- Condensation — poor ventilation in bathrooms and kitchens produces condensation that runs down walls and leaves mineral stains.
- Flood or water intrusion — heavy rain, backed-up drains, or appliance failures can saturate walls and ceilings.
- Gutter problems — overflowing or leaking gutters direct water against exterior walls, leading to interior staining.
- Foundation moisture — groundwater wicking through masonry can stain lower walls in older buildings.
- Window leaks — failed caulking or flashing around older windows lets water in during rain, staining the wall below.
Why You Can't Just Paint Over Water Stains
It's tempting to roll a coat of paint over a water stain and call it done. Here's why that doesn't work:
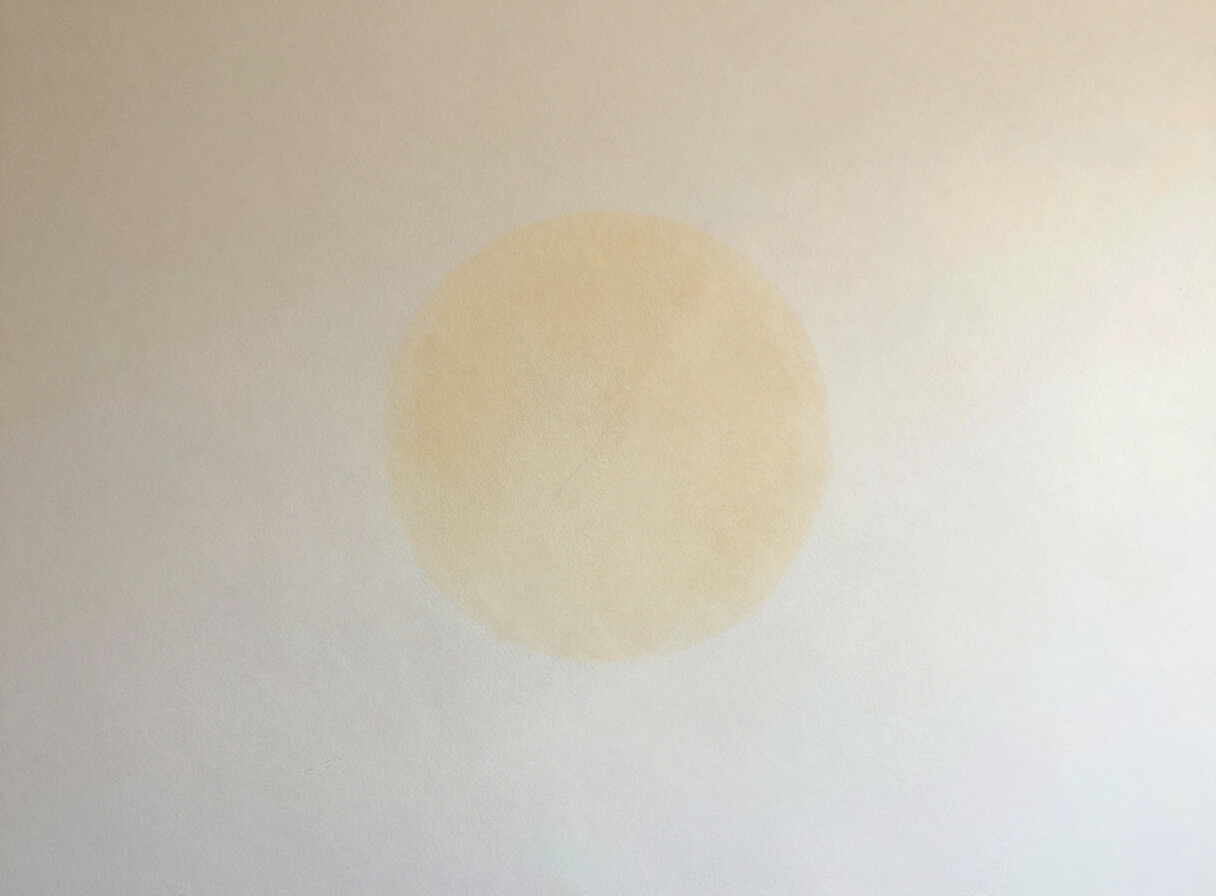
- The stain will bleed through paint. Water stains contain tannins, minerals, and organic compounds that soak through standard paint within weeks or months.
- Underlying moisture may continue. If the source isn't fixed, water keeps entering the wall, and the new paint fails from behind.
- Paint will fail. Moisture behind paint causes blistering, peeling, and flaking — often worse than the original stain.
- The problem will worsen. Ignored moisture rots wood framing, corrodes fasteners, and degrades plaster and drywall.
- Mold risk. Damp wall cavities grow mold, which can spread behind the paint and become a health concern.
- Structural damage risk. Prolonged moisture can weaken framing, ceilings, and plaster keys — turning a cosmetic problem into a structural one.
The Correct Process for Water-Stained Walls
Repairing water-stained walls and ceilings is a sequence, and the order matters. Skip a step and the repair fails.
Step 1: Identify and Correct the Moisture Source
Before any repair, the water has to stop. A repair over an active leak is wasted effort. Find and fix the source — roof, plumbing, window, gutter, or condensation — first.
Step 2: Allow Proper Drying Time
Once the source is fixed, the wall or ceiling must dry completely. Painting over damp material traps moisture and guarantees failure. Drying can take days to weeks depending on the extent of saturation and ventilation.
Step 3: Assess Material Damage
After drying, evaluate whether the plaster or drywall is still structurally sound. Soft, crumbling, or delaminating material must be repaired or replaced.
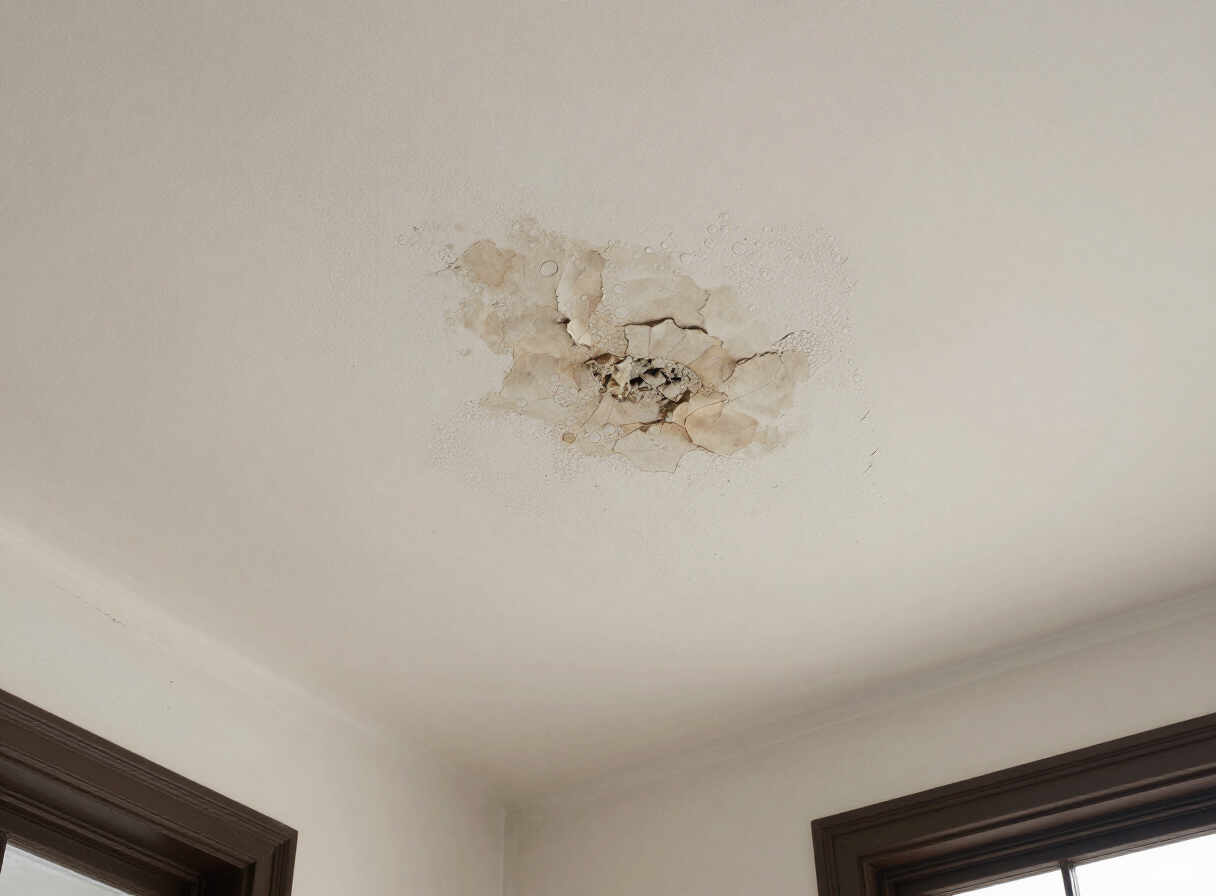
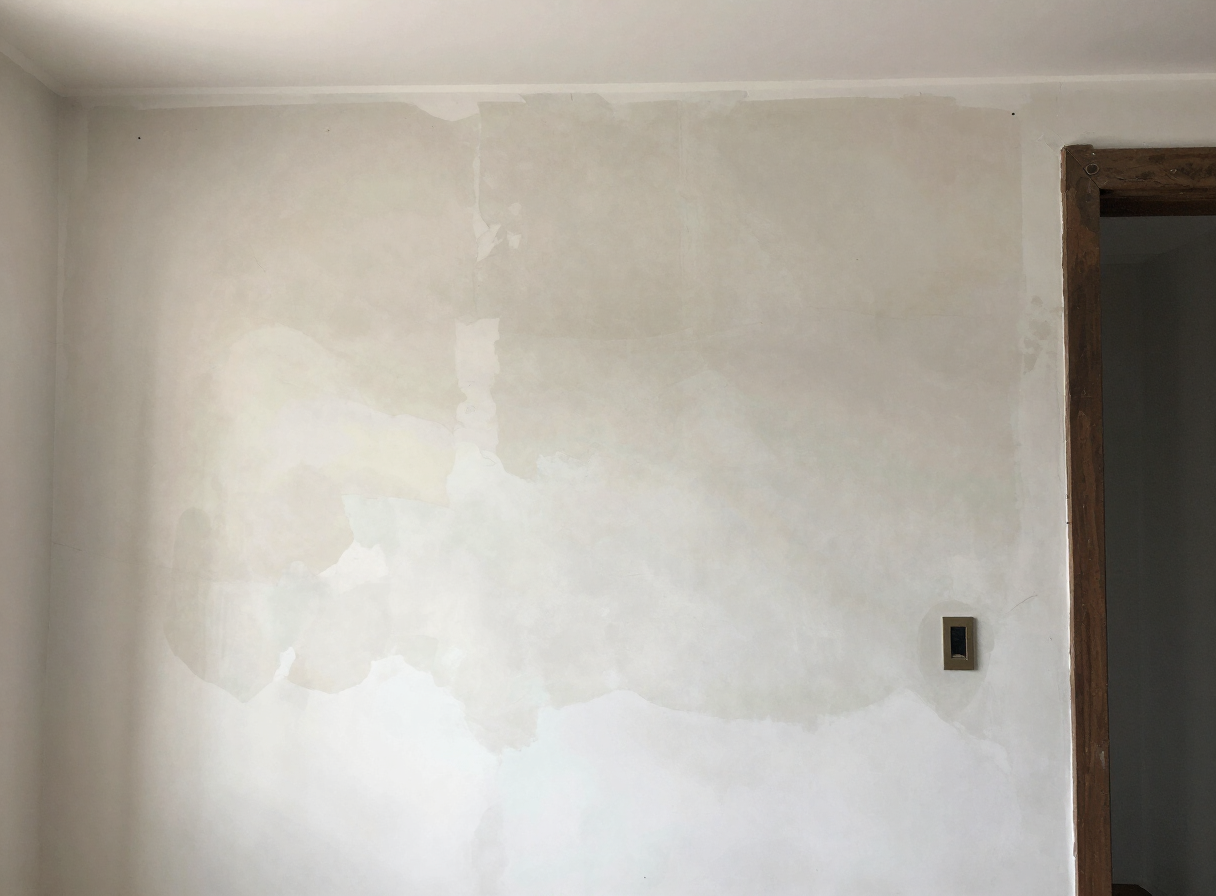
Step 4: Repair or Replace Damaged Material
Sound material is patched; damaged material is cut out and replaced. Plaster is repaired with bonding agents and compound (see our plaster repair guide); drywall is patched with new sections, tape, and compound.
Step 5: Apply Stain-Blocking Primer
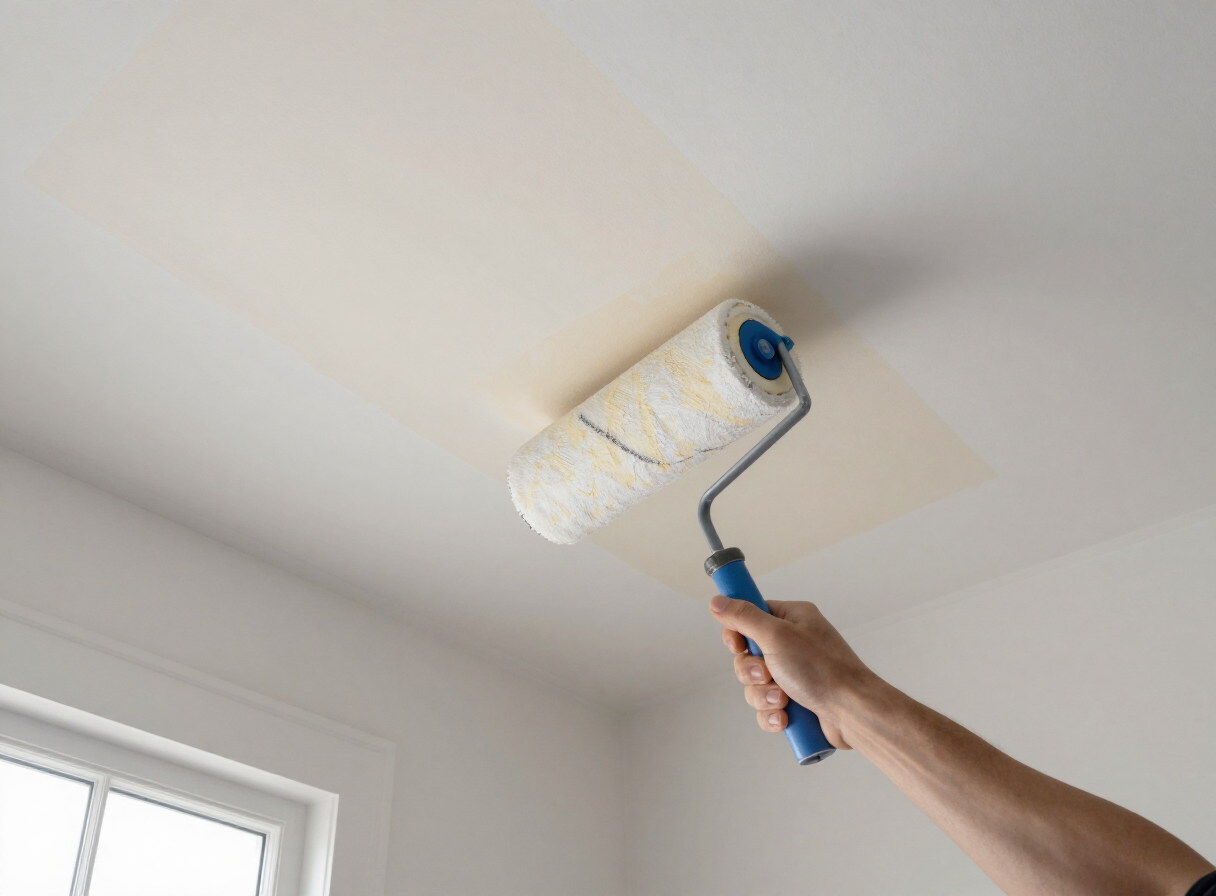
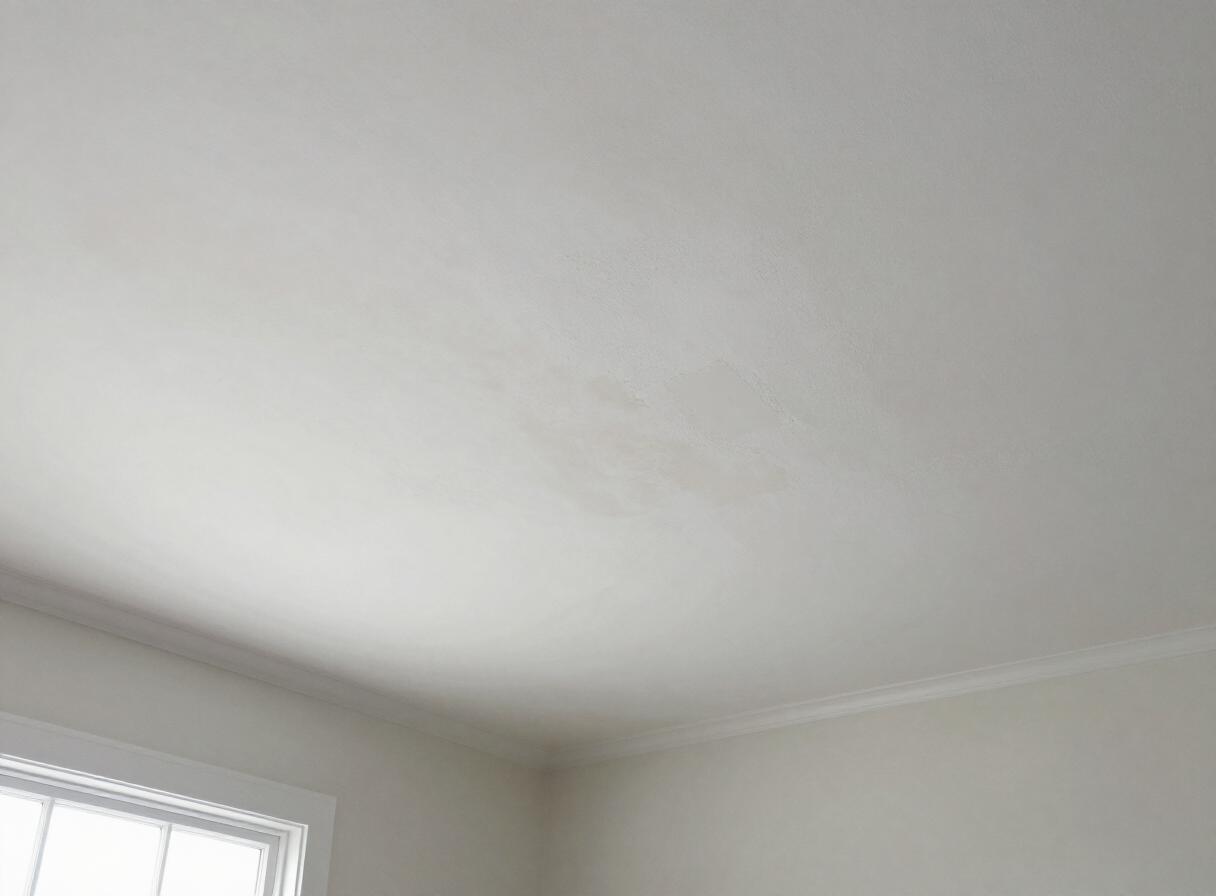
Once repairs are sanded smooth, a stain-blocking primer seals the surface and prevents any residual discoloration from bleeding through the finish coat.
Step 6: Paint
Finally, the finish coat is applied over the primed surface. The result is a clean, uniform wall or ceiling with no visible trace of the original stain.
Identifying the Moisture Source
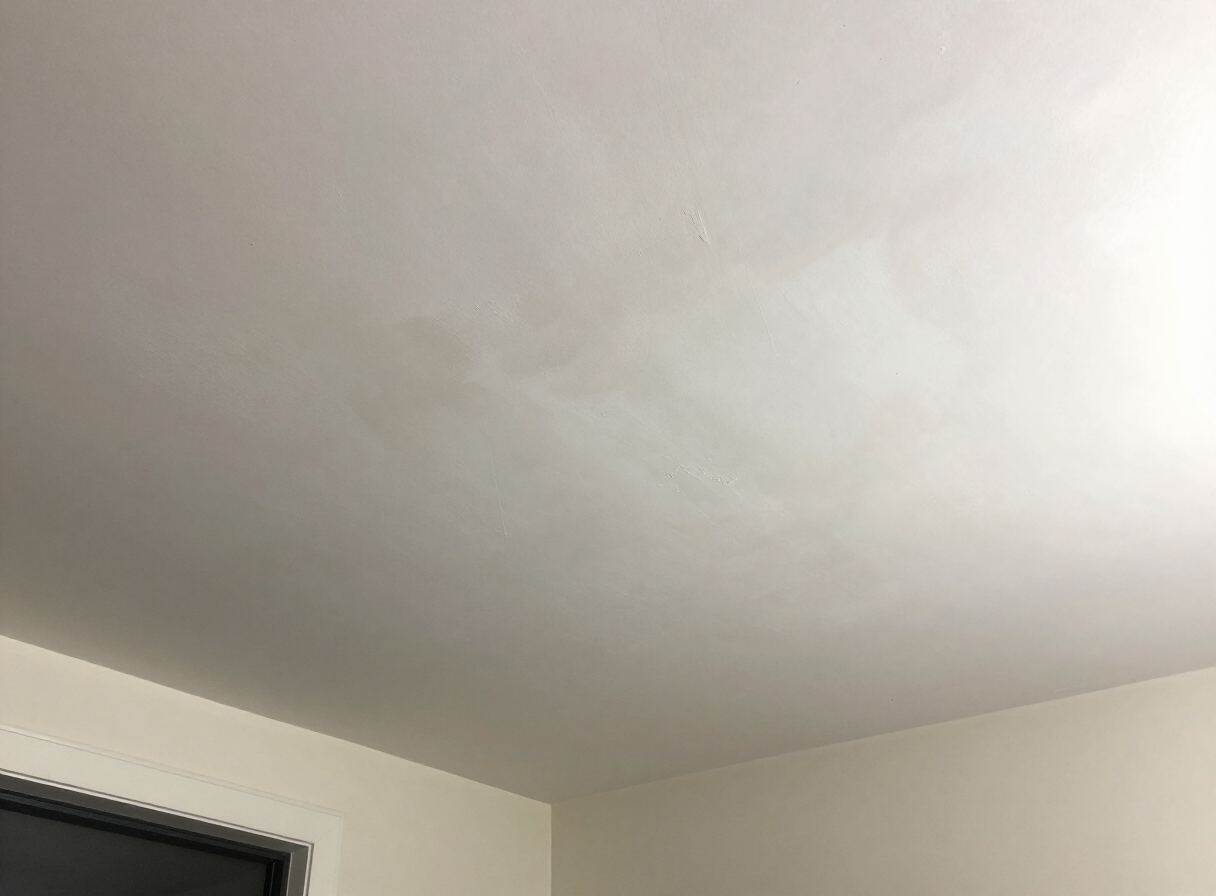
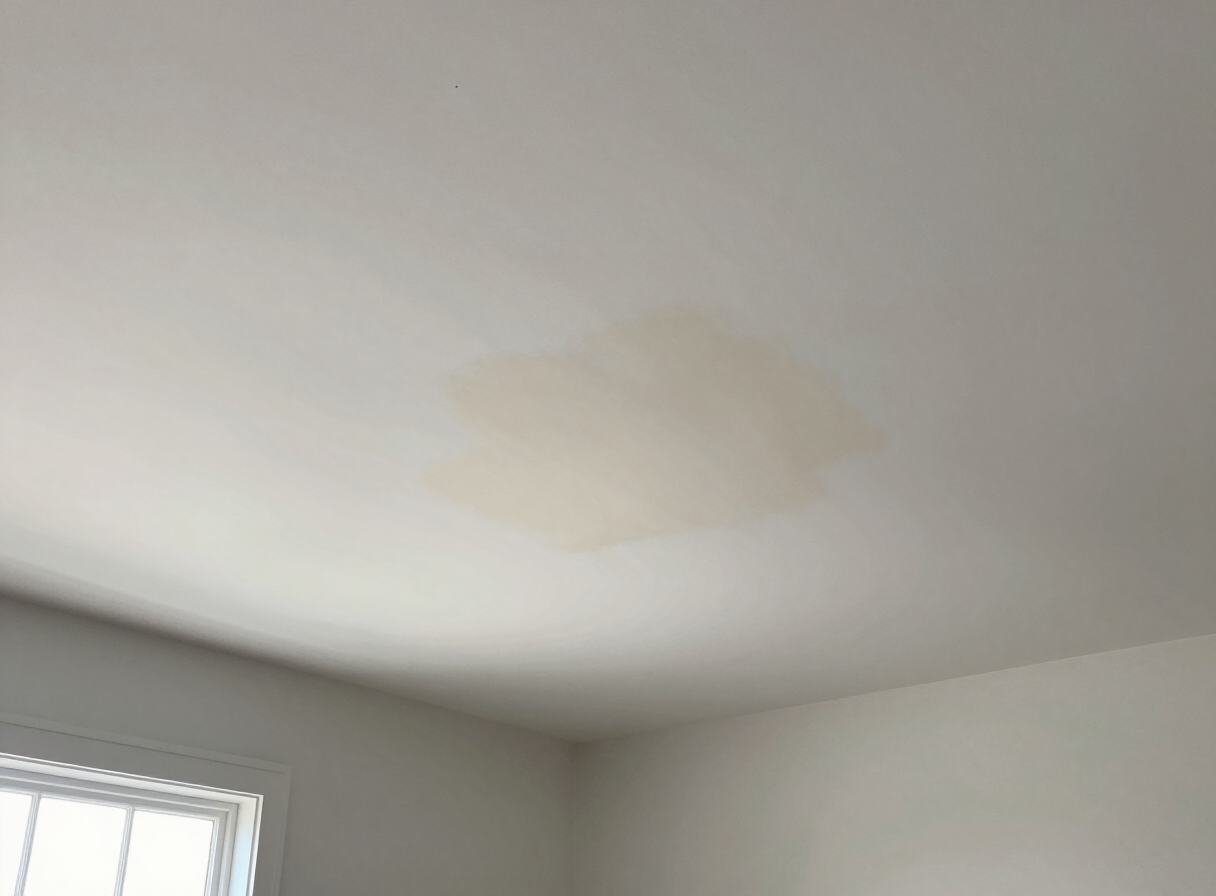
Finding the source can be the hardest part. A systematic inspection helps:
- Roof inspection — look for missing or damaged shingles, failed flashing, and stains in the attic. A stain on an upper-floor ceiling usually points to the roof.
- Plumbing inspection — check above and behind the stain for supply lines, drains, and fixtures. A stain below a bathroom or kitchen almost always involves plumbing.
- Window inspection — look for failed caulk, damaged flashing, and staining below windows after rain.
- Foundation inspection — check lower walls and basements for groundwater infiltration and efflorescence.
- Gutter inspection — look for overflowing gutters, downspout discharges near the foundation, and staining on exterior walls.
- When to call a specialist — if the source isn't obvious, a roofer, plumber, or building inspector can trace it. Don't repair the wall until the source is confirmed fixed.
Drying and Material Assessment
- How long drying takes — a small, surface-level stain may dry in days; a saturated wall or ceiling can take weeks. Fans and dehumidifiers speed the process.
- Moisture meters — a moisture meter confirms the material is dry before repair begins. Painting over material that reads above safe moisture levels guarantees failure.
- Assessing plaster damage — sound plaster can be patched; plaster that has lost its bond, crumbles, or sounds hollow when tapped may need replacement.
- Assessing drywall damage — drywall that is soft, bulging, or crumbling must be cut out and replaced. Drywall that is firm with only surface staining can be repaired.
- When material must be replaced — any material that has lost structural integrity, shows mold growth, or remains damp after the source is fixed should be replaced.
- When material can be repaired — firm, dry material with only cosmetic staining can be repaired, primed with stain-blocking primer, and painted.
Repairing Water-Damaged Walls
- Plaster repair after water damage — remove loose or softened plaster, patch with bonding compound, reinforce as needed, skim coat, sand, and prime. (Full process in our plaster repair guide.)
- Drywall repair/replacement after water damage — cut out damaged sections, install new drywall with backing, tape and mud the seams, sand smooth, and prime.
- Addressing mold concerns — any visible mold must be treated and the affected material removed or remediated before repair. Mold behind paint will continue to grow.
- Proper ventilation — ensure the area is fully dry and ventilated before, during, and after repair to prevent recurrence.
- Primer selection — a stain-blocking primer is mandatory over any water-stained area, even after the source is fixed and the material is dry.
Stain-Blocking Primers
Stain-blocking primers are the single most important product in water-damage repair. Here's what you need to know:
- What they are — specialized primers formulated to seal stains and prevent tannins, water marks, and discoloration from bleeding through the finish coat.
- Why they're necessary — standard primer and paint cannot block water stains. Without a stain-blocking primer, the stain reappears within weeks.
- Application process — apply over clean, dry, repaired surfaces; allow full cure time; then apply the finish coat. Some stains require two primer coats.
- Product recommendations — we use shellac-based and high-performance water-based stain-blocking primers (such as BIN shellac primer and premium acrylic stain blockers) chosen for the specific stain and substrate.
- Cost factors — stain-blocking primers cost more than standard primer, but skipping them guarantees the stain returns. The cost is a fraction of redoing the paint job.
Painting After Water Damage
- Paint selection — premium 100% acrylic paints (Benjamin Moore Aura or Sherwin-Williams Emerald) provide the best durability and moisture resistance.
- Finish selection — satin or semi-gloss in bathrooms, kitchens, and other moisture-prone areas; eggshell in living areas. Higher sheens are more washable and moisture-resistant.
- Multiple coats — two finish coats over a properly primed surface produce the most uniform, durable result.
- Ventilation — ongoing ventilation (exhaust fans, open windows) prevents future condensation and moisture buildup.
- Preventing future moisture — keep gutters clean, maintain caulking around windows and fixtures, and address any new stains immediately before they spread.
When to Call a Professional
Some water-damage situations are DIY-friendly; others are not. Call a professional when you have:
- Extensive water damage — large stained areas, multiple ceilings, or widespread saturation.
- Mold concerns — any visible mold, musty odors, or discoloration that suggests mold growth behind the surface.
- Structural damage — sagging ceilings, soft walls, or material that has clearly lost integrity.
- Ongoing moisture — stains that reappear or grow, indicating the source hasn't been fully corrected.
- Uncertain source — if you can't identify where the water is coming from, a professional can trace it before you invest in repairs.
Water Damage in Your Hoboken Home?
Hudson Line Painters handles water-damaged wall and ceiling repair in Hoboken brownstones, condos, and apartments — from source-corrected plaster and drywall repair to stain-blocking primer and finish painting, all in one coordinated project.
Get a free Hoboken drywall & plaster repair estimate →
Ready to paint after repair? Explore our Hoboken interior painting services →
Related reading: plaster repair in Hoboken, drywall vs. plaster in Hoboken, and drywall repair after plumbing & electrical work.