Hoboken's older housing stock means plaster walls are the norm, not the exception. This complete guide covers common plaster problems, when to repair vs. replace, how the repair process works, cost factors, and how to prepare repaired plaster for paint.
Hoboken has one of the oldest housing stocks in New Jersey — roughly 44% of homes were built in 1939 or earlier, and the city's planning policy explicitly prioritizes preserving historic properties and architectural heritage. That means plaster walls and ceilings are the norm in older Hoboken brownstones and historic homes, not the exception. Plaster behaves differently from modern drywall: it cracks with seasonal movement, separates from the lath behind it, and requires specialized repair materials and reinforcement.
This complete guide covers everything a Hoboken homeowner needs to know about plaster repair — why Hoboken homes have plaster, the most common plaster problems, when to repair versus replace, how the repair process works, how plaster repair differs from drywall repair, cost factors, and how to prepare repaired plaster for a fresh coat of paint. If you're dealing with cracked, loose, or damaged plaster, this is the place to start.
Why Hoboken Homes Have Plaster Walls
Plaster was the standard interior wall finish in American construction from the 1700s through the mid-1900s. Drywall (then called "rock lath" or gypsum board) didn't become widespread until after World War II, and it didn't fully replace plaster in residential construction until the 1950s and 1960s. Because so much of Hoboken was built before that transition, the city's brownstones, row houses, and older multifamily buildings overwhelmingly have original plaster walls and ceilings.
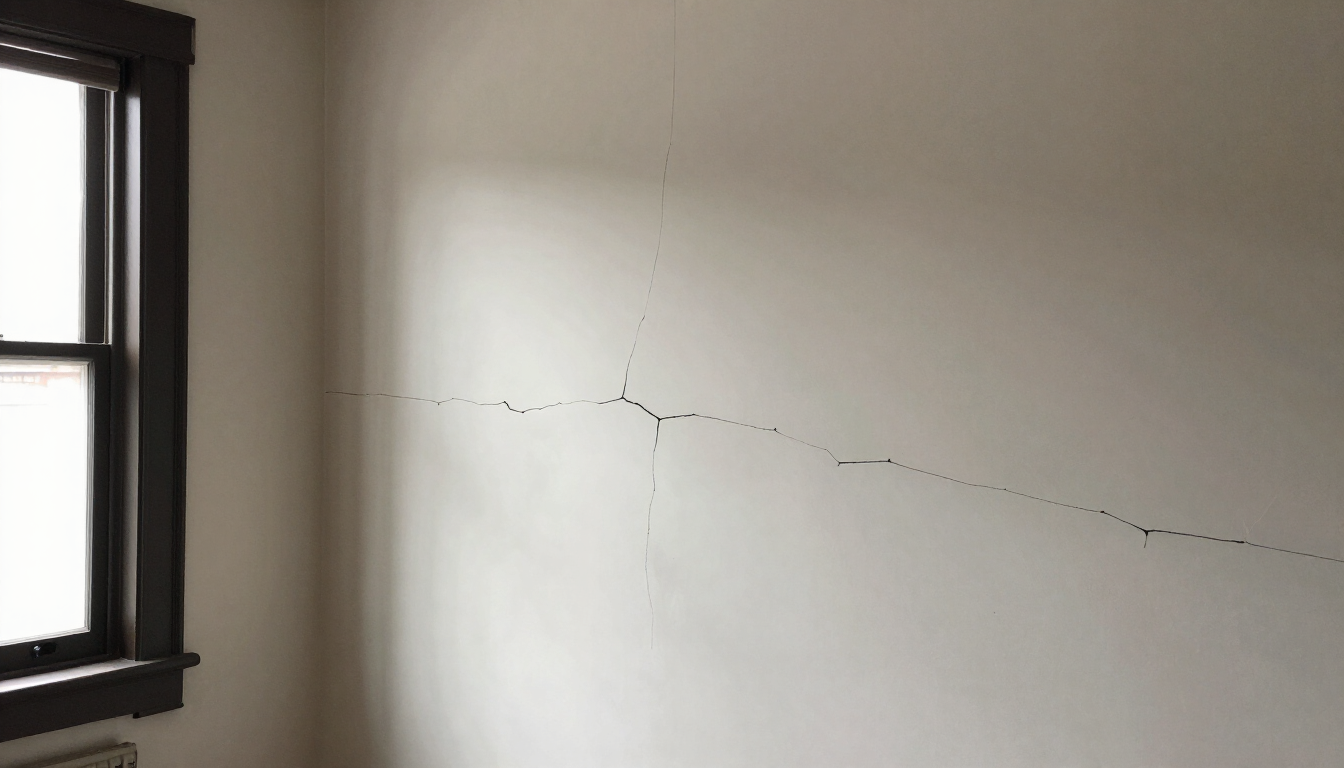
Plaster is applied wet in multiple coats over a wooden or metal lath substrate. As it dries, it keys into the gaps between the lath strips, creating a mechanical bond that holds the plaster in place. The result is a hard, dense, monolithic surface that is significantly more rigid and durable than drywall — but also more brittle and more prone to cracking when the building settles or moves.
That durability is exactly why so much original plaster survives in Hoboken today. A well-maintained plaster wall can last a century or more. The trade-off is that when it does fail, the repair is more specialized than patching a hole in drywall. You can't just cut a new piece of plaster off the shelf — you have to work with the existing material, reinforce what's loose, and blend the repair into the surrounding surface.
Common Plaster Problems in Hoboken Homes
Plaster fails in predictable ways. Here are the problems we see most often in older Hoboken properties:
Hairline Cracks
Fine, shallow cracks in the paint and top coat of plaster are usually cosmetic and settlement-related. They appear as buildings expand and contract with seasonal temperature and humidity changes. Hairline cracks are easy to repair but will recur if the underlying movement isn't addressed with flexible filler.
Structural Cracks
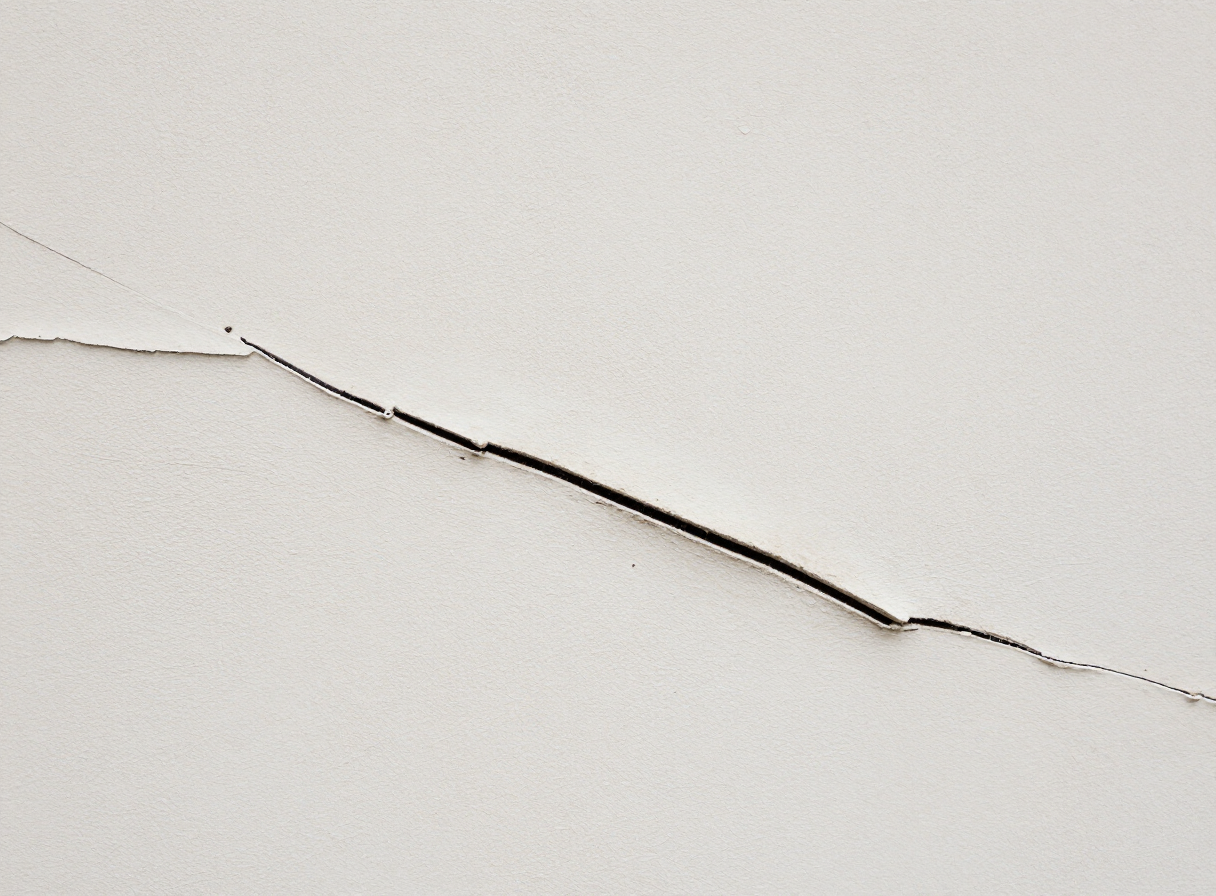
Wider, deeper cracks that run through the full thickness of the plaster are more serious. They often indicate ongoing settlement, structural movement, or a failure of the bond between the plaster and the lath. Structural cracks tend to recur after repair and may require reinforcement with mesh or a bonding agent to keep them closed.
Loose or Damaged Plaster
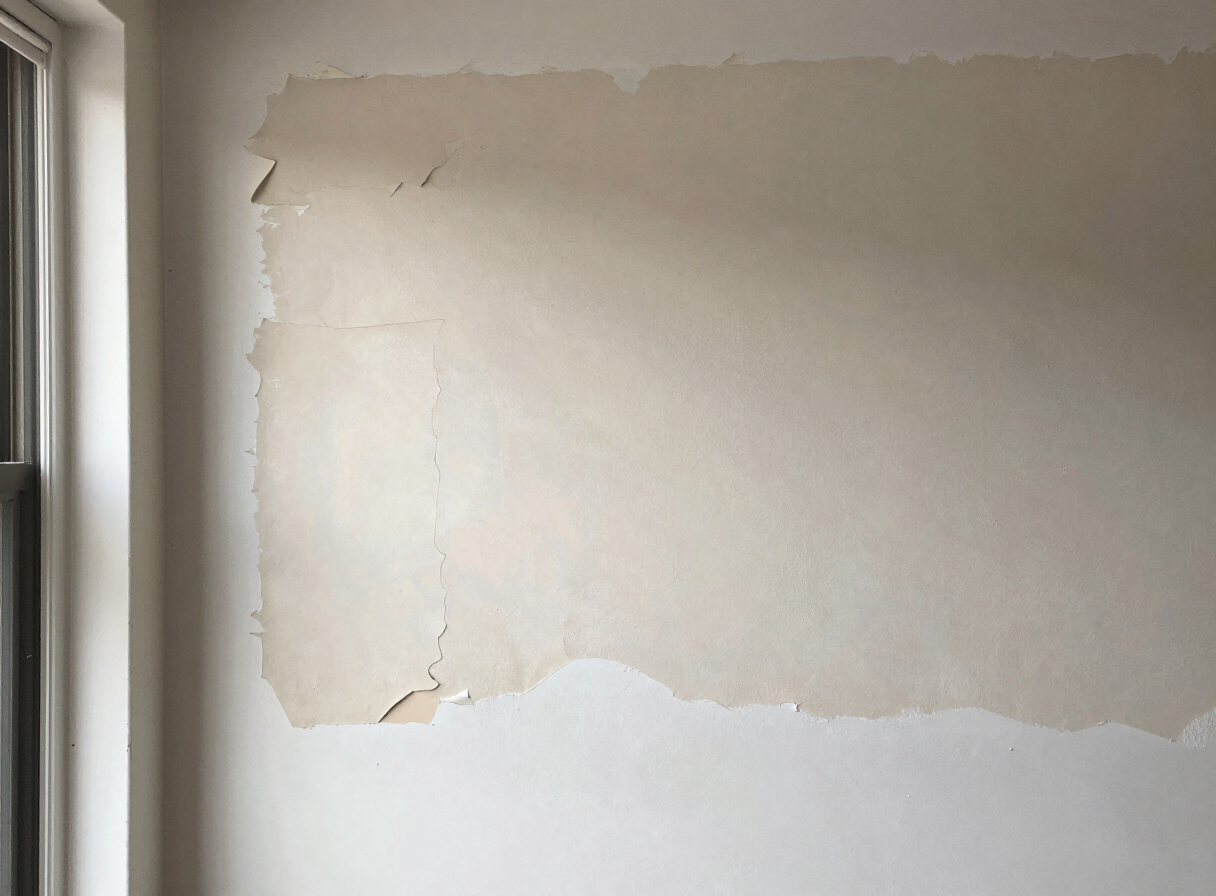
When the mechanical key between the plaster and the lath fails, sections of plaster separate from the wall and become loose. You'll often hear a hollow sound when you tap the wall, and the surface may bulge, crack, or flake away. Loose plaster needs to be re-secured or removed and replaced before any cosmetic repair will hold.
Cracks Around Doors and Windows
Openings in walls create natural weak points. Cracks that radiate from the corners of doors and windows are common in older Hoboken homes and usually reflect decades of minor structural movement. They're repairable, but the surrounding area often needs reinforcement.
Water Damage and Staining
Water from roof leaks, plumbing failures, or window leaks can saturate plaster, causing it to soften, crumble, or develop brown stains. Water-damaged plaster must be dried, assessed, and often partially replaced — and the moisture source must be fixed first. (See our guide to water stains on Hoboken walls and ceilings for the full process.)
Poor Previous Repairs
Decades of homeownership mean decades of DIY repairs. We frequently find old patches done with the wrong material, cracks filled with rigid spackle that has already re-cracked, and texture mismatches that telegraph through every subsequent paint job. Removing or correcting these is often the first step in a proper plaster repair.
Multiple Layers of Old Paint
Older plaster walls often carry five, ten, or more layers of paint. Heavy buildup can hide damage, create an uneven surface, and cause adhesion problems for new coatings. In severe cases, paint removal or skim coating is needed before repair work will look right.
When to Repair vs. When to Replace
Not every plaster problem calls for the same response. Here's how we approach the decision on Hoboken walls and ceilings:
- Small hairline cracks → repair. Widen slightly, fill with flexible compound, sand, prime, and paint.
- Large damaged sections → may require replacement. If a section of plaster has crumbled or lost its bond across a wide area, cutting it out and replacing it with new plaster or drywall is often more reliable than patching.
- Loose plaster → stabilize and repair. Re-secure loose sections with plaster buttons or adhesive, then patch and skim coat over the reinforced area.
- Water-damaged plaster → assess and repair. Dry the area, evaluate whether the plaster has lost structural integrity, and repair or replace as needed — always after the moisture source is corrected.
- Structural concerns → professional evaluation. If cracks are wide, recurring, or accompanied by movement, have the structure evaluated before repairing the plaster. Repairing plaster over an active structural problem is wasted effort.
The honest answer is that most plaster problems in Hoboken homes are repairable. Replacement is reserved for sections that have genuinely failed. We assess every wall in person and tell you honestly which approach is right — no upselling replacement when a repair will do.
How Plaster Repair Works
A proper plaster repair follows a defined sequence. Skipping steps is what causes repairs to fail and re-crack within a year.
1. Evaluation and Diagnosis
We start by identifying what kind of plaster problem we're dealing with — hairline crack, structural crack, loose plaster, water damage, or failed previous repair. The repair approach follows directly from the diagnosis.
2. Removing Loose Material
Any loose, crumbling, or poorly bonded plaster is removed down to a stable edge. You can't build a sound repair on top of material that's already failing.
3. Patching with Appropriate Compound
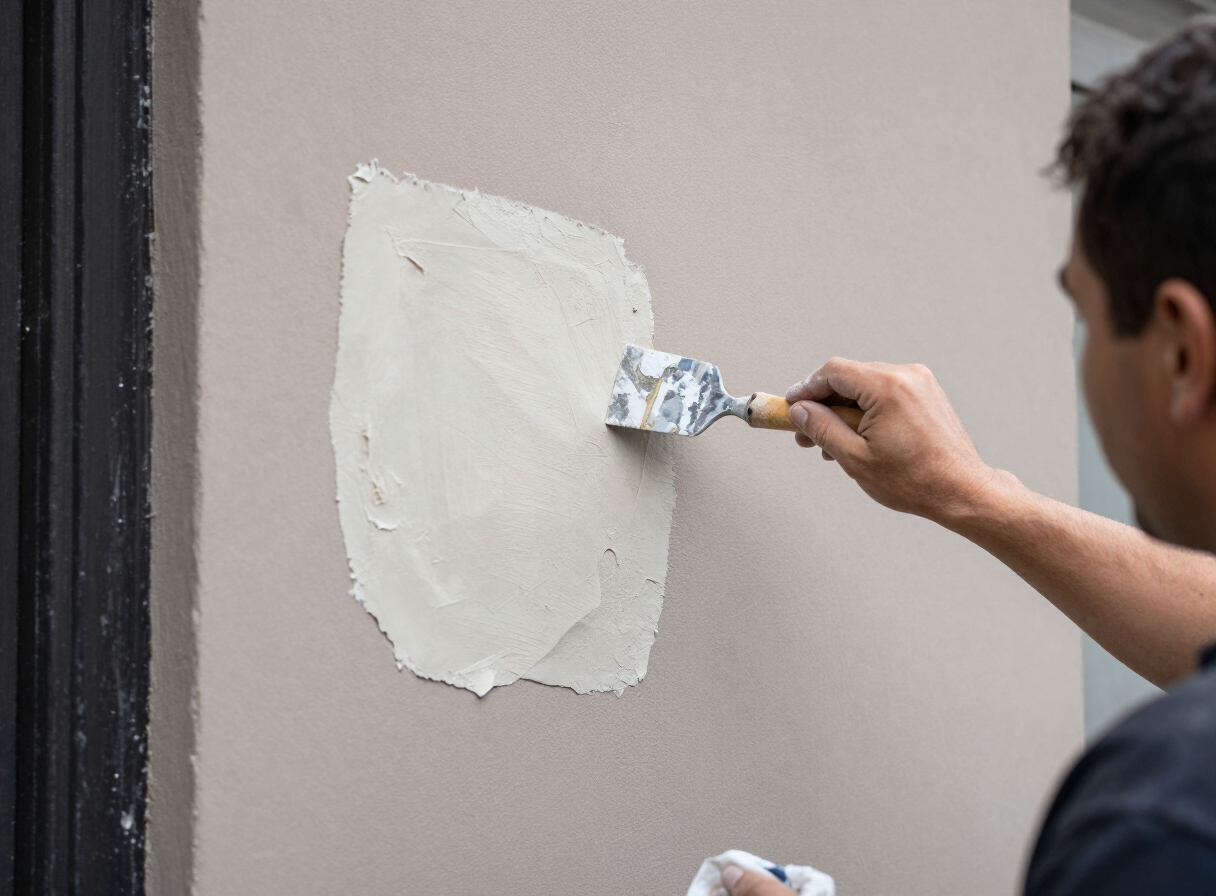
We select the patching material based on the substrate and the size of the repair — setting-type joint compound for smaller patches, plaster-based patching compound for larger or deeper repairs, and flexible filler for cracks that may recur.
4. Reinforcing Where Necessary
Cracks that tend to reopen are reinforced with fiberglass mesh tape or self-adhesive mesh. Larger repairs may require backing material or plaster buttons to re-secure loose sections to the lath.
5. Skim Coating for Uneven Surfaces
When the repaired area or the surrounding wall is uneven, a thin skim coat of joint compound creates a smooth, uniform surface. (See our complete guide to skim coating in Hoboken for when this is the right choice.)
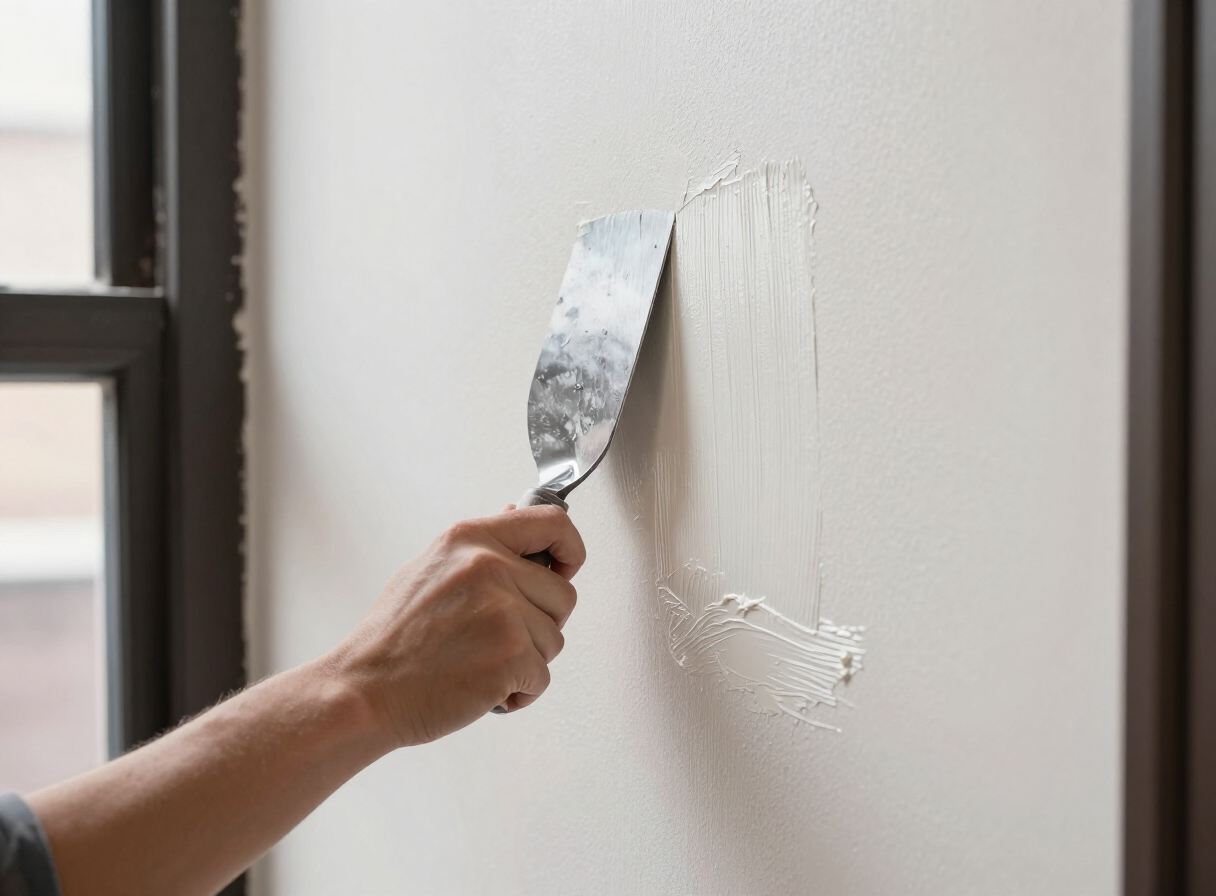
6. Sanding Smooth
Once the compound is fully dry, the repaired area is sanded smooth and feathered into the surrounding wall so the transition disappears.
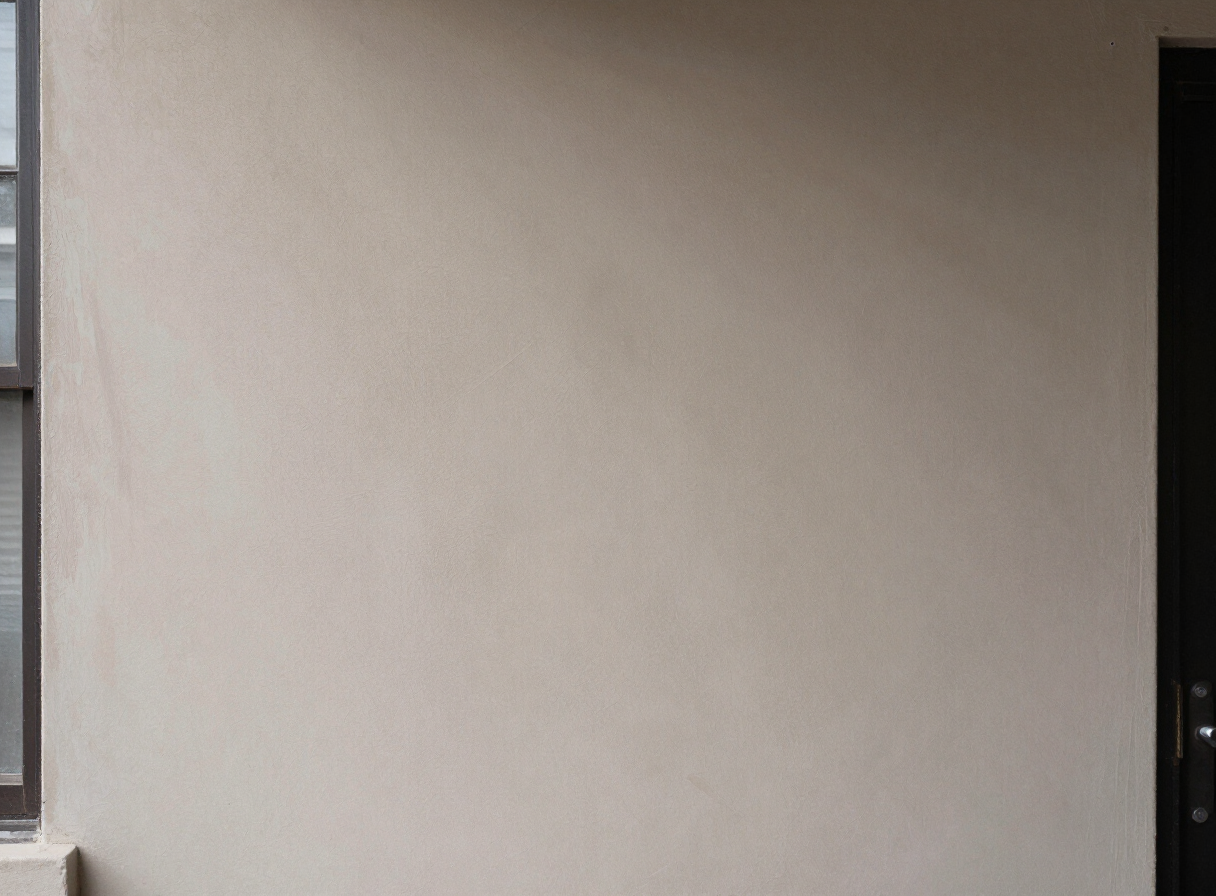
7. Priming with a Bonding Primer
Repaired plaster must be primed before painting. We use a high-adhesion bonding primer over fresh compound and repaired plaster to ensure the finish coat adheres properly and doesn't flash or peel.
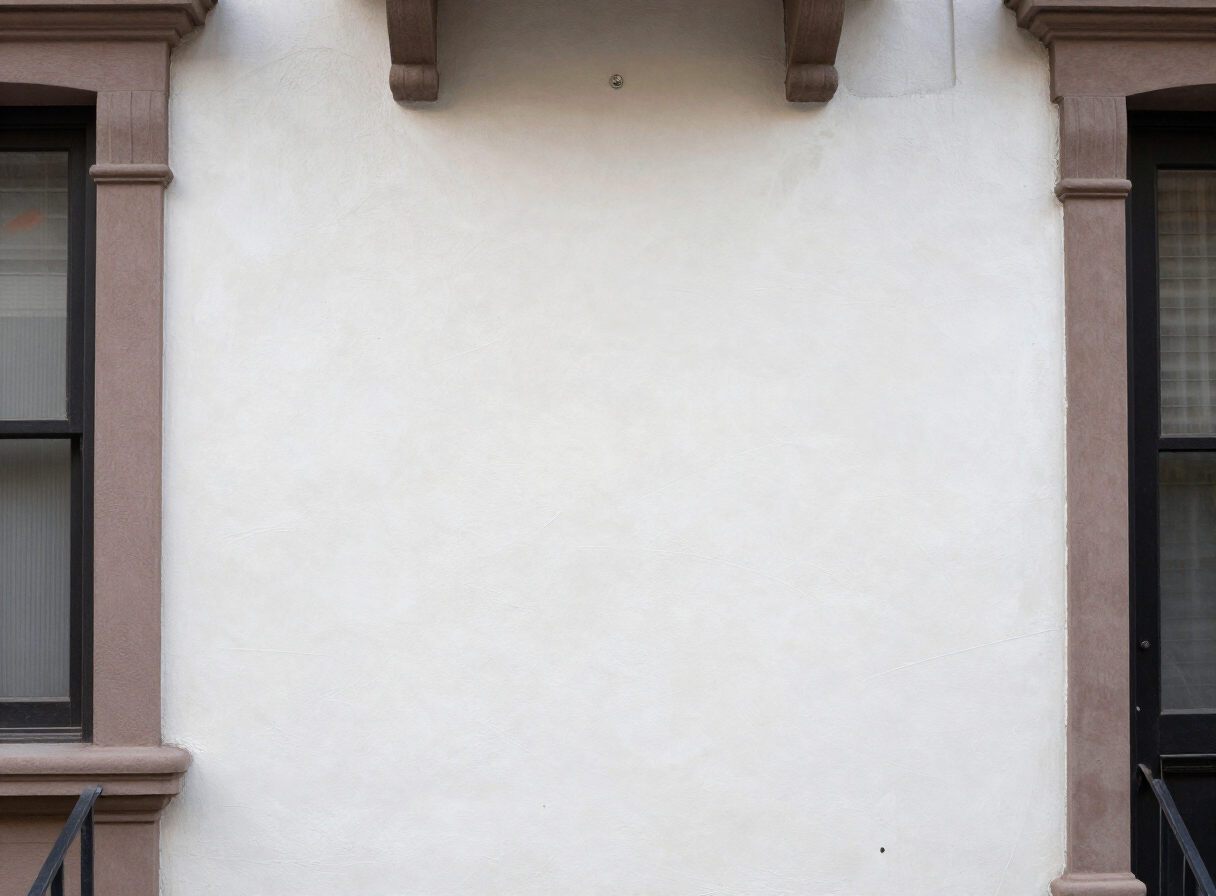
8. Painting
Finally, the finish coat is applied. For small repairs, touching up the affected area may be enough. For larger repairs or older walls with aged paint, repainting the entire wall or ceiling produces a cleaner, more uniform result.
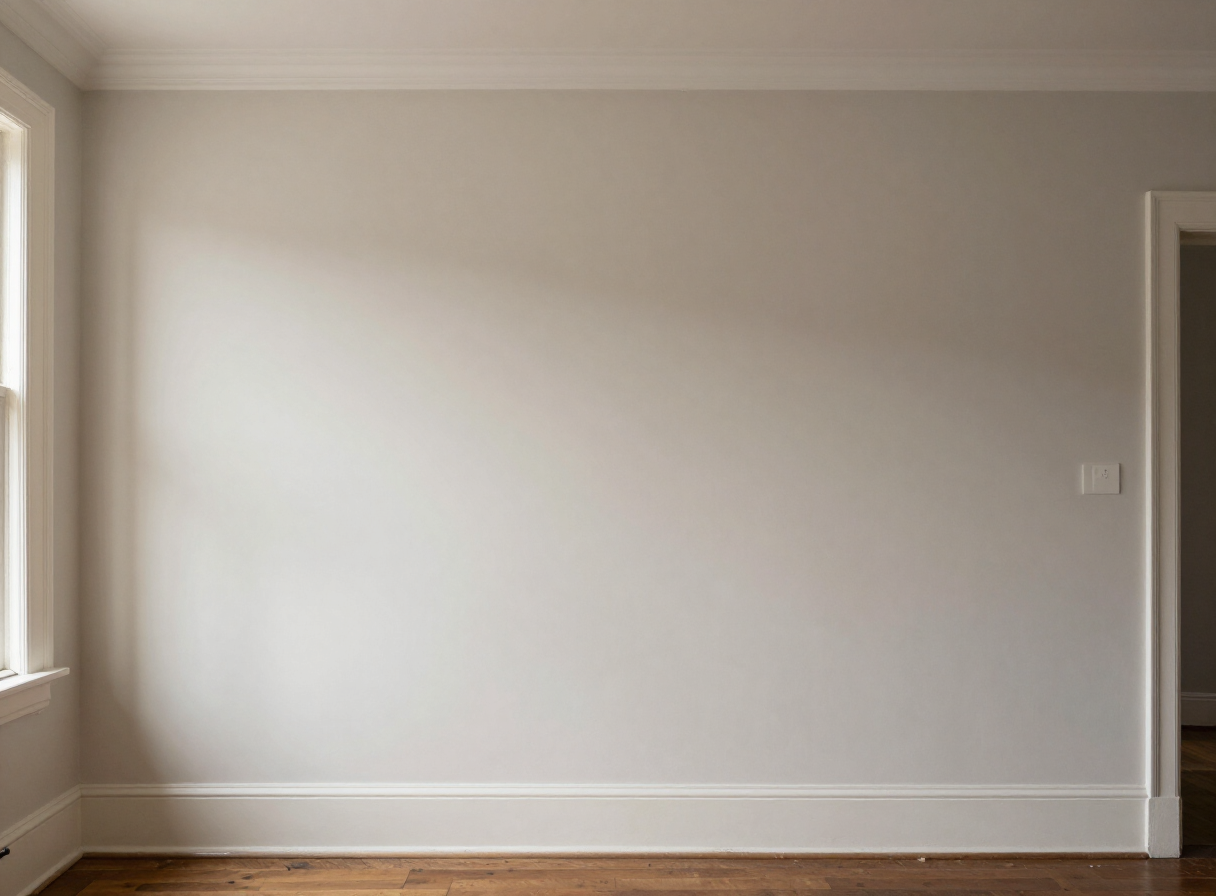
Plaster Repair vs. Drywall Repair
Plaster and drywall are different materials, and they require different repair approaches. If you're not sure which your walls are, our guide to telling drywall from plaster in Hoboken homes walks through the diagnosis.
- Different materials, different approaches. Plaster is hard, dense, and brittle; drywall is softer and panel-based. Plaster repair relies on bonding agents and reinforcement; drywall repair relies on tape, compound, and feathering.
- Plaster repair is more specialized. Most general handymen can patch drywall competently. Plaster repair requires experience with older materials, an understanding of how plaster bonds to lath, and the right products for the substrate.
- Bonding primers matter. Fresh compound over old plaster needs a bonding primer to adhere. Skipping this step is a common cause of peeling repairs.
- Elastomeric caulk for plaster cracks. Hairline and structural cracks in plaster benefit from flexible, elastomeric caulk or flexible filler that can move with the wall — rigid spackle will simply re-crack.
- Skim coating for plaster. Because older plaster walls are often uneven, skim coating is a more frequent part of plaster repair than drywall repair.
Cost Factors for Plaster Repair in Hoboken
Plaster repair cost depends on the type and extent of the damage. A single hairline crack is not the same repair as a water-damaged ceiling or a full-wall skim coat. The major cost factors are:
- Size of the damaged area — a 6-inch crack costs less to repair than a 4-foot section of loose plaster.
- Extent of damage — surface cracks are quick; loose plaster that needs re-securing or replacement takes longer.
- Accessibility — ceiling repairs, stairwell walls, and high walls require ladders or scaffolding and take more time.
- Whether skim coating is needed — a full skim coat is labor-intensive and adds to the cost, but it transforms an uneven wall.
- Whether repainting is included — repair-only projects finish paint-ready; repair-plus-paint projects include the finish coat and any necessary full-wall repainting.
We provide free, flat-rate estimates for all Hoboken plaster repair projects. Pricing varies by project, and we won't invent ranges we can't stand behind — contact us for a detailed quote based on your specific repair.
After Plaster Repair: Preparing for Paint
The repair isn't finished when the compound is sanded. Proper preparation for paint is what makes the repair last and look right:
- Priming repaired plaster — a bonding primer over fresh compound and bare plaster ensures adhesion and prevents the repair from flashing through the finish coat.
- Choosing appropriate paint — we recommend premium 100% acrylic paints (Benjamin Moore Aura or Sherwin-Williams Emerald) for their adhesion, hide, and flexibility on older plaster.
- Finish selection — eggshell or satin is standard for plaster walls in living areas. Flat hides imperfections but is less washable; satin is more durable for high-traffic areas.
- Color considerations — on older walls with a history of repairs, repainting the entire wall in a fresh neutral often produces a cleaner result than touching up only the repaired spot.
Ready to Repair Your Hoboken Plaster Walls?
If your Hoboken brownstone or older home has cracked, loose, or damaged plaster, Hudson Line Painters specializes in plaster repair for the city's pre-1939 housing stock. We diagnose the problem, repair it properly, and can handle the painting in the same project — so the finish coat is never an afterthought.
Get a free Hoboken drywall & plaster repair estimate →
Already have your repairs done and ready to paint? Explore our Hoboken interior painting services →
Want to understand your walls first? Read our guide to telling drywall from plaster in Hoboken homes or our complete guide to skim coating in Hoboken.