Older Hoboken homes often have uneven, patched, or textured walls. Skim coating is the technique that turns a rough surface into a smooth, paint-ready wall — but not every wall needs it. This guide explains when skim coating makes sense and how it works.
Older Hoboken homes — brownstones, row houses, and pre-war multifamily buildings — often have walls that have lived through decades of repairs, repaints, wallpaper, and settling. The result is frequently an uneven, textured, or patchwork surface that no amount of paint will hide. Skim coating is the specialized surface-preparation technique that turns a rough, imperfect wall into a smooth, uniform, paint-ready surface.
But skim coating is labor-intensive, and not every wall needs it. This guide explains what skim coating is, why Hoboken walls benefit from it, the scenarios where it's the right choice, when it's unnecessary, how the process works, how it compares to other preparation methods, cost factors, and how to paint a wall after it's been skim coated.
What Is Skim Coating?
Skim coating is the application of a thin, smooth layer of joint compound (also called mud) over an entire wall or ceiling to create a uniform surface. It's applied with a wide trowel or knife in one or more passes, then sanded smooth and primed before painting.
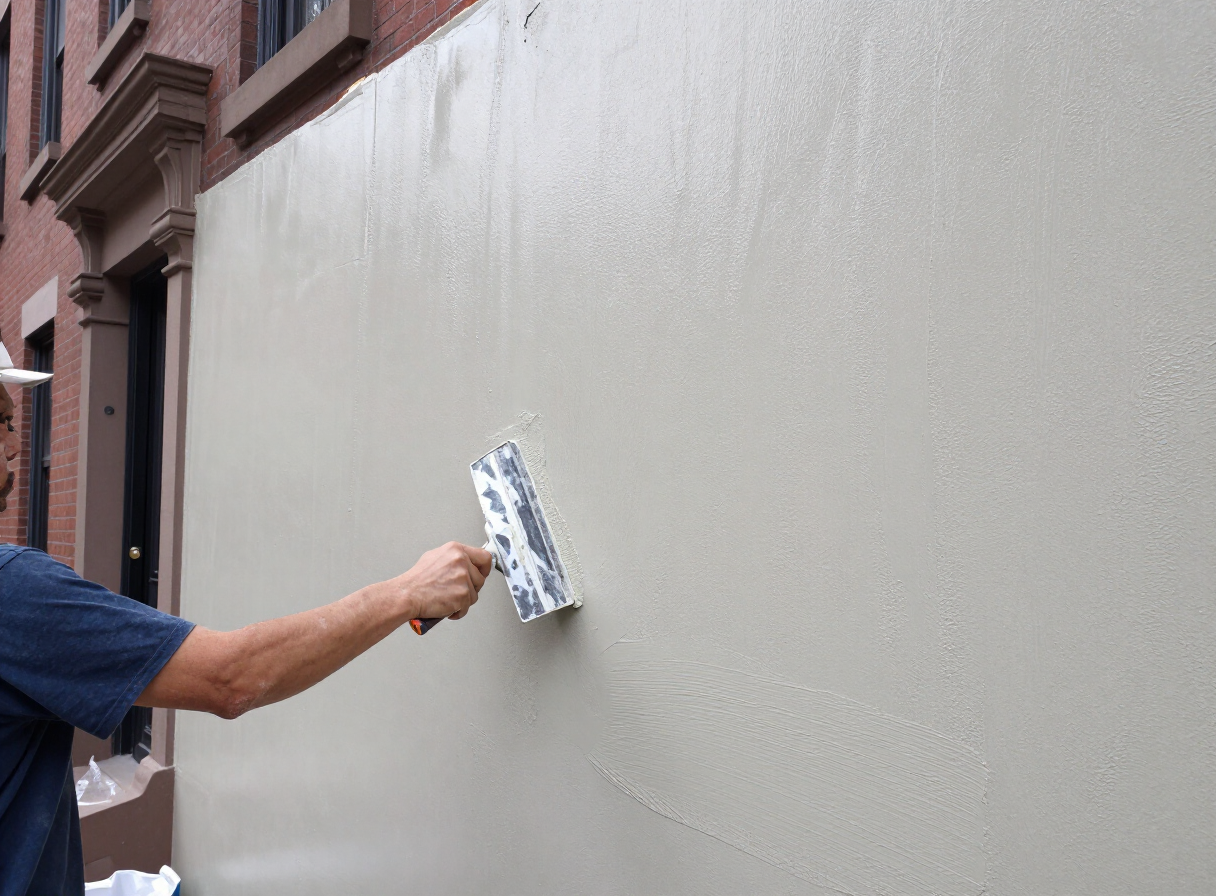
Skim coating is different from patching, which targets a specific damaged area, and different from sanding, which smooths an existing surface without adding material. Skim coating adds a new, thin surface layer that covers imperfections across the whole wall. It's the right choice when a wall is generally sound but cosmetically uneven.
Why Hoboken Walls Need Skim Coating
Several conditions common in Hoboken's older housing stock make skim coating the right solution:
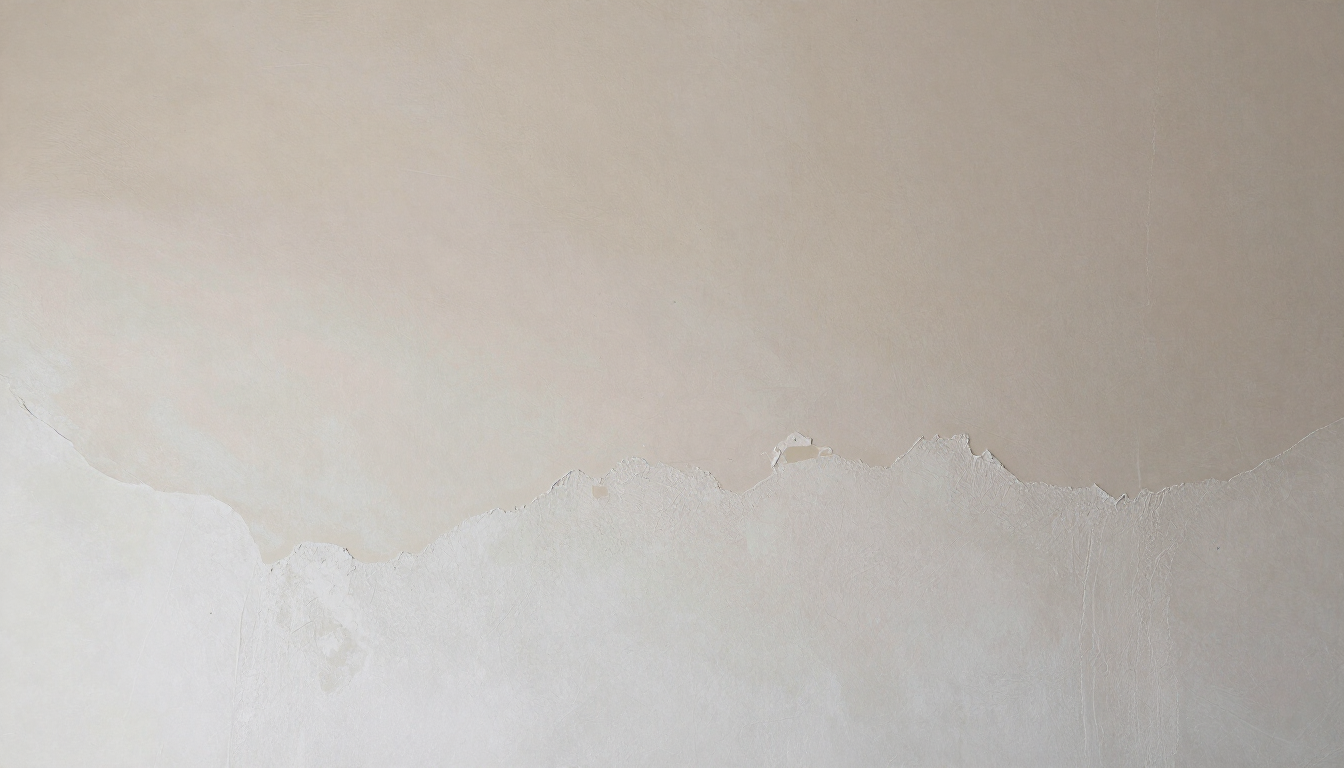
- Older plaster walls are often uneven. Hand-applied plaster naturally has minor variations in thickness and texture that become more visible after decades of settling and repainting.
- Multiple layers of old paint. Five or ten coats of paint build up unevenly, creating ridges around edges, trim, and previous repairs.
- Poor previous repairs. Old patches done with the wrong material or without proper feathering leave visible bumps and texture mismatches.
- Settlement and movement. Decades of structural movement produce hairline cracks and surface variations that accumulate across the wall.
- Wallpaper removal damage. Stripping wallpaper from older Hoboken walls often exposes gouges, torn plaster, and adhesive residue that require a new surface layer. (See our guide to wall repair after damage for related preparation work.)
- Preparing for smooth paint finishes. Higher-sheen paints (satin, semi-gloss) highlight every imperfection. A skim coat creates the smooth substrate these finishes demand.
Common Skim Coating Scenarios
- Old plaster with imperfections — hairline cracks, minor bulges, and texture variations across an otherwise sound plaster wall.
- Drywall with visible seams — poorly finished drywall joints that show through paint, especially under raking light.
- Patched areas that don't blend — previous repairs that are structurally fine but cosmetically obvious.
- Wallpaper removal damage — walls left rough, gouged, or coated in adhesive after wallpaper is stripped.
- Preparing for higher-sheen finishes — eggshell, satin, and semi-gloss paints require a smoother substrate than flat paint.
- Preparing for accent walls — a single feature wall in a bold or dark color needs a flawless surface, because dark colors magnify imperfections.
When Skim Coating Is NOT Needed
Skim coating is an investment, and it's not always the right call. You probably don't need it if:
- You want a textured finish. If you're keeping or adding texture (knockdown, orange peel, plaster texture), skim coating to a smooth finish is unnecessary.
- Your walls are in good condition. A wall with only minor blemishes may only need spot patching and a fresh coat of paint.
- You have only minor imperfections. A few nail holes and one small crack don't justify skim coating the entire wall.
- Budget constraints take priority. Spot repairs plus flat paint can hide a lot at a lower cost when a full skim coat isn't in the budget.
We'll always tell you honestly whether skim coating is the right choice for your walls or whether spot repairs will achieve the result you want.
The Skim Coating Process
A proper skim coat is a multi-step process. Rushing it is what produces visible lap marks, ridges, and an uneven finish.
1. Surface Evaluation
We assess the wall's condition, identify loose material or failing paint, and determine how many coats of compound the surface needs.
2. Preparation
Loose paint and damaged material are removed, cracks are widened and filled, and the wall is cleaned of dust and grease. Glossy surfaces are sanded to create a mechanical bond for the compound.
3. Compound Selection
We choose the right joint compound for the substrate — all-purpose compound for most walls, setting-type compound for deeper repairs or faster turnaround.
4. Application Technique
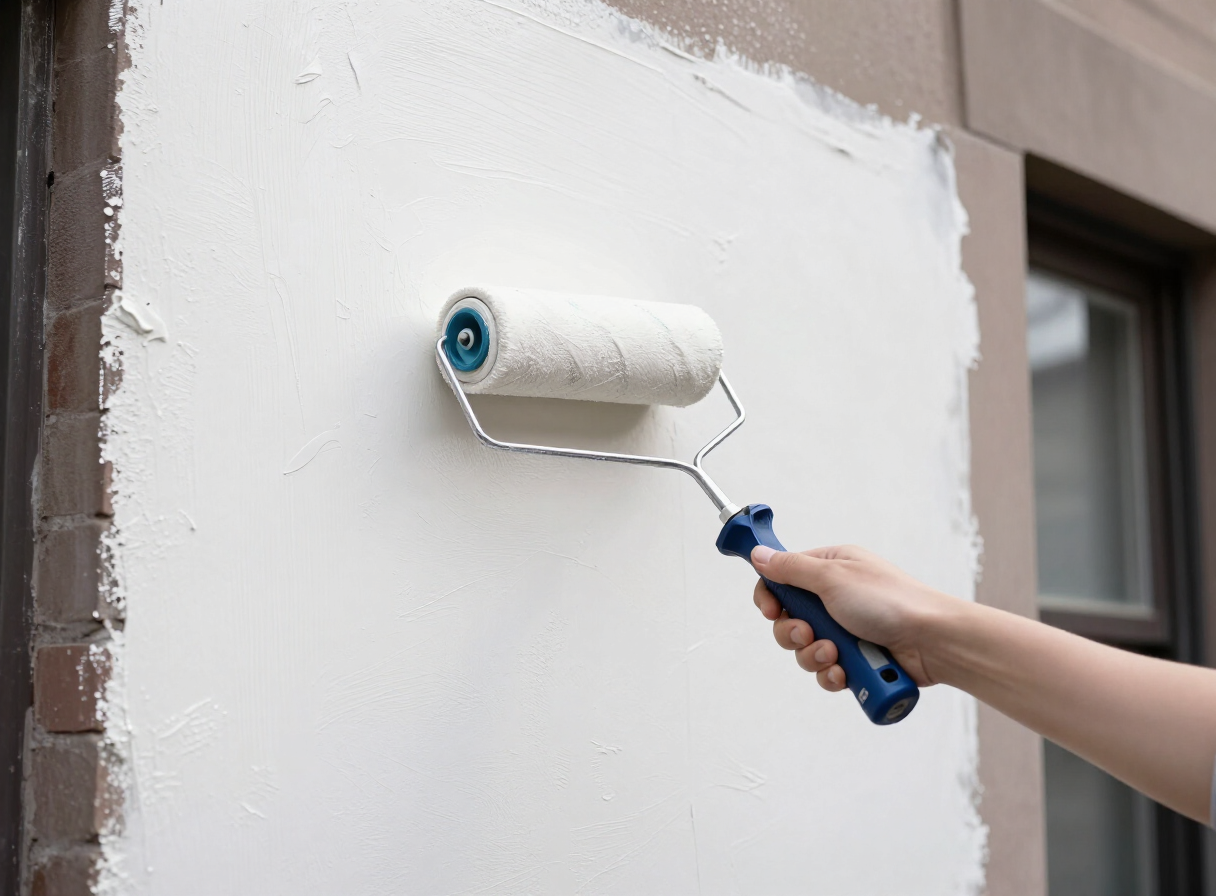
Compound is applied in a thin, even layer with a wide trowel or knife, working in manageable sections to avoid drying edges.
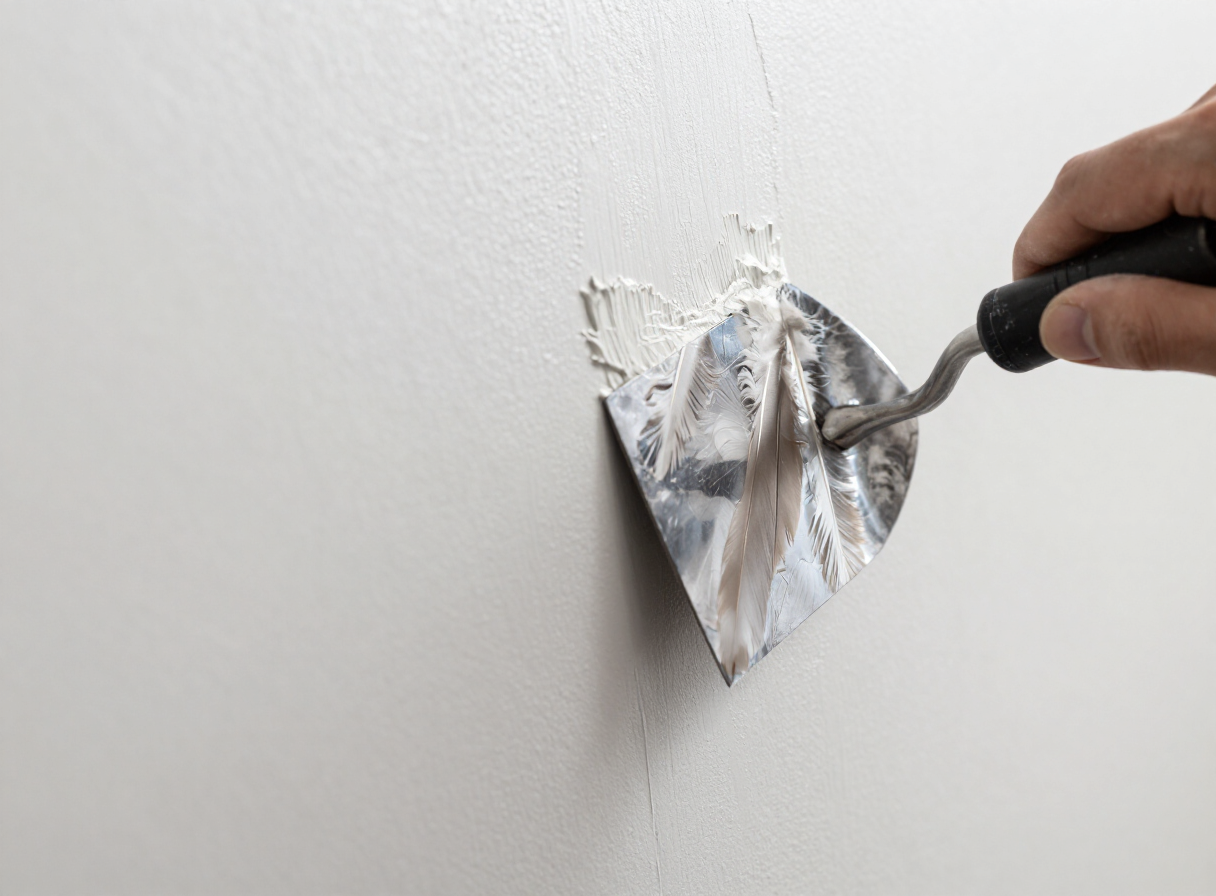
5. Feathering Edges
Each pass is feathered out at the edges so there's no visible ridge where one section meets the next. This is the skill that separates a smooth skim coat from a lumpy one.
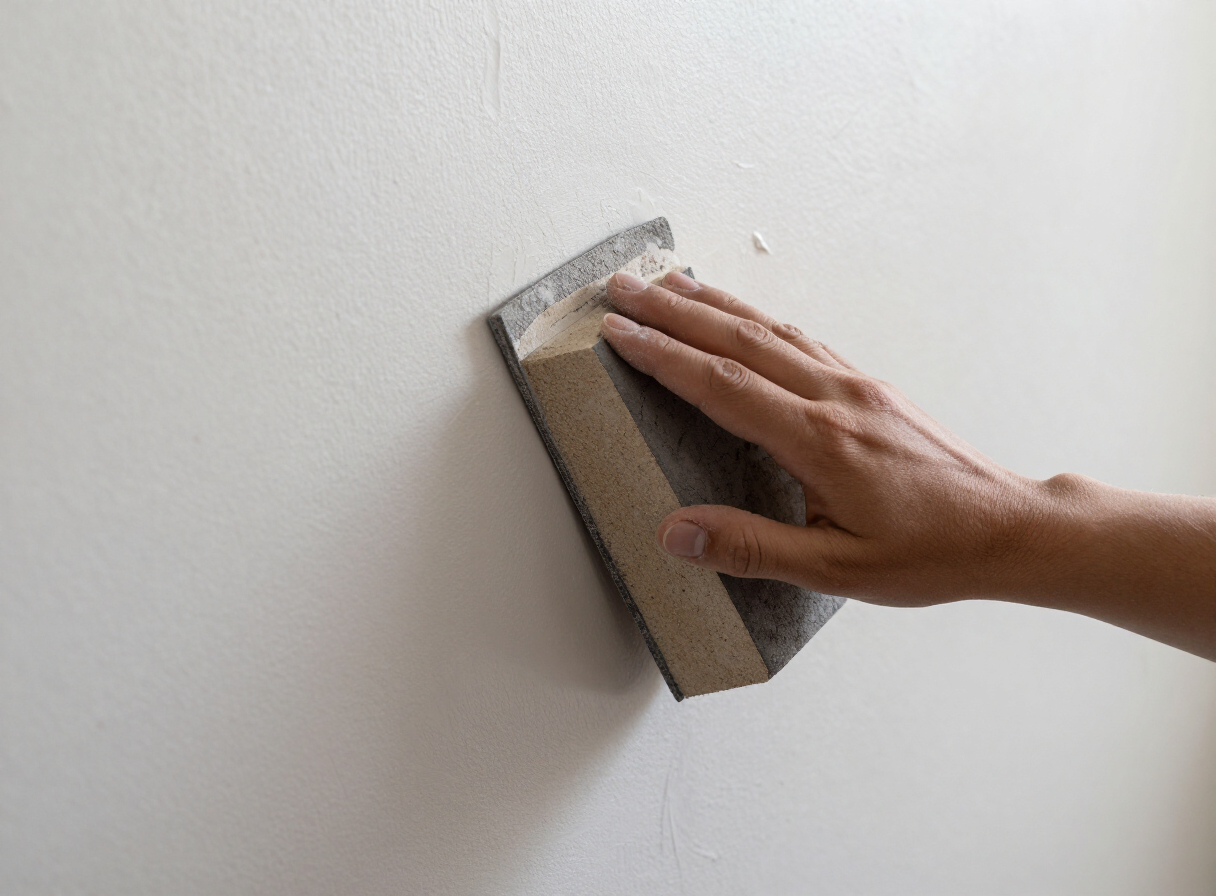
6. Sanding Smooth
Once dry, the surface is sanded smooth with fine-grit sandpaper, working under raking light to catch every imperfection.
7. Inspection
The wall is inspected with a light held parallel to the surface to reveal any remaining ridges or pits. A second coat is applied if needed.
8. Priming
The skim-coated surface is primed with a high-adhesion primer to seal the compound and ensure uniform paint absorption.
9. Painting
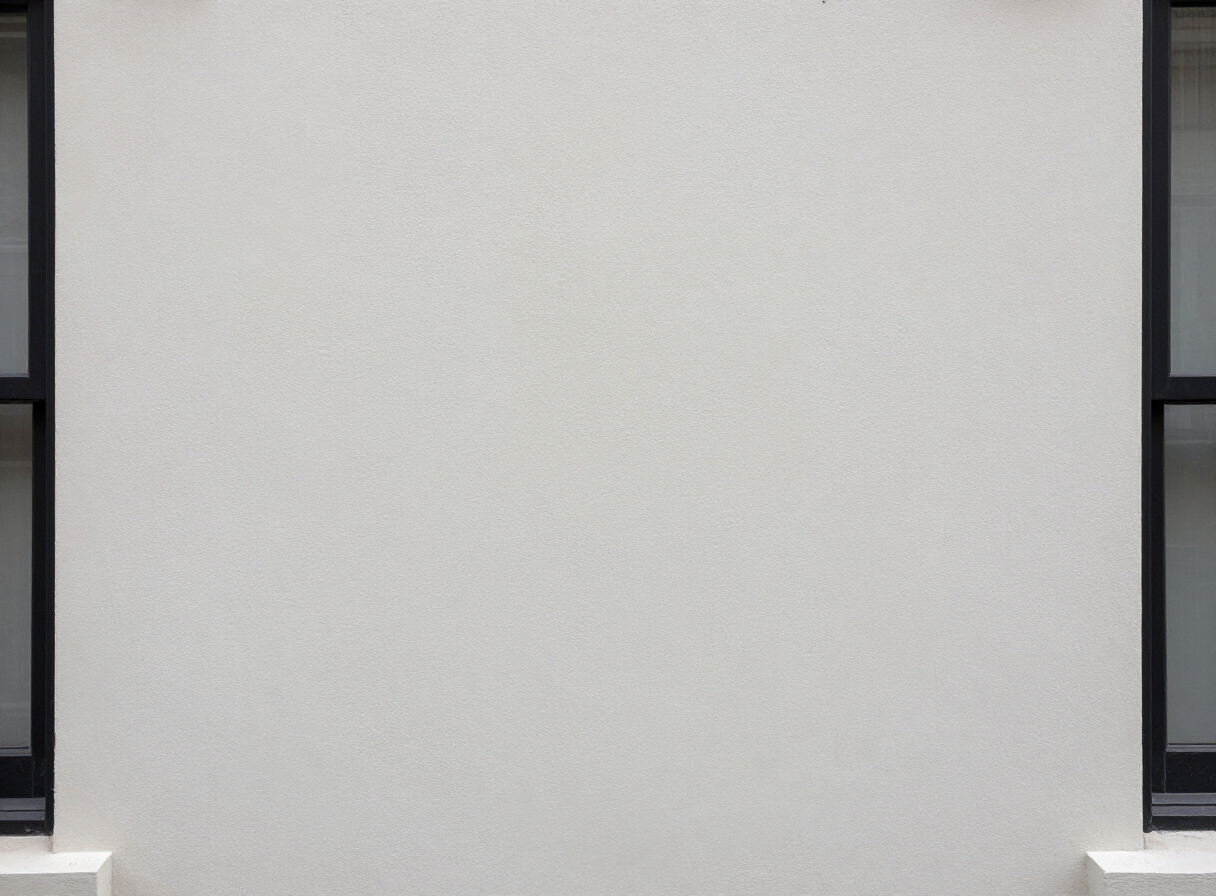
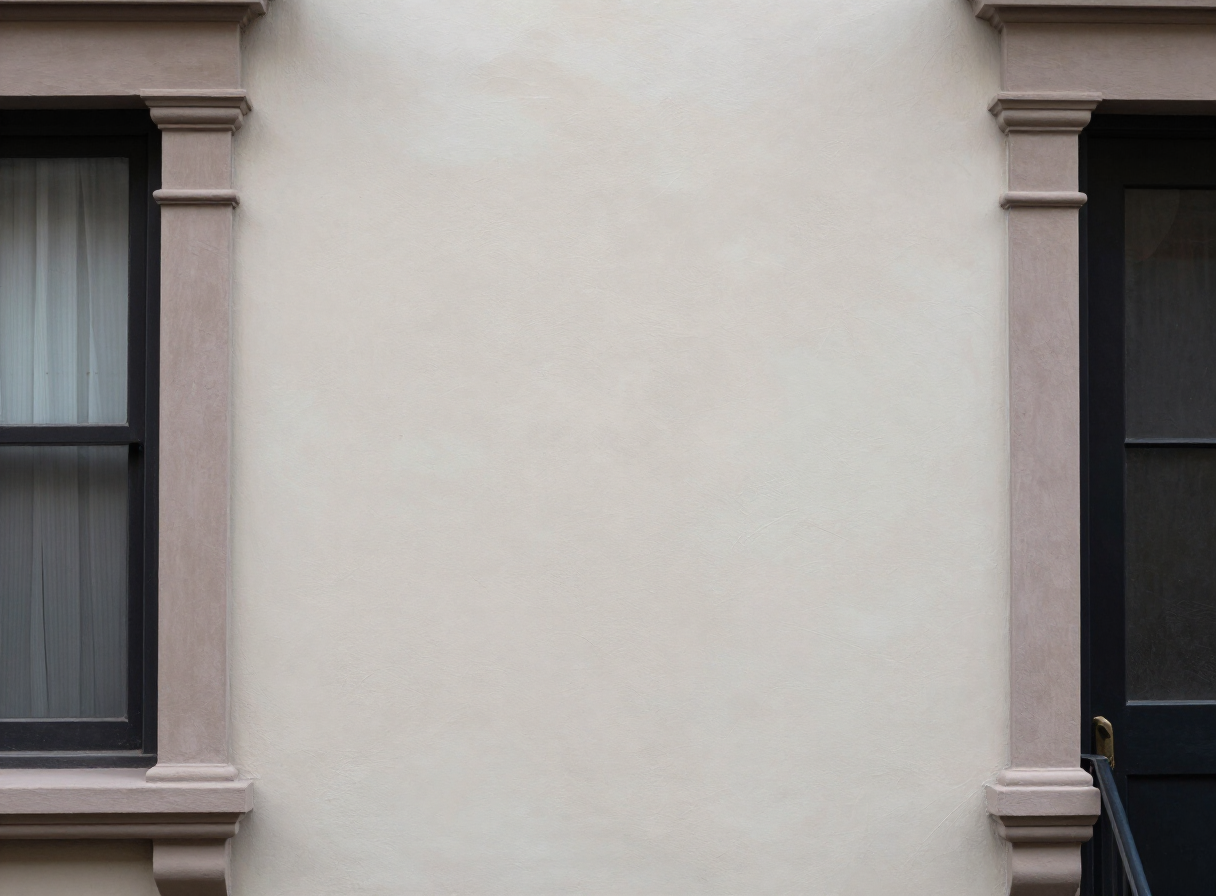
Finally, the finish coat is applied. The result is a flawless, smooth wall that shows off the paint color without distraction.

Skim Coating vs. Other Wall Preparation Methods
- Skim coating vs. sanding — sanding smooths an existing surface but doesn't add material or fill imperfections. Skim coating creates a new, uniform surface layer.
- Skim coating vs. patching — patching targets specific damaged areas. Skim coating covers the entire wall, which is necessary when imperfections are widespread.
- Skim coating vs. wallpaper — covering damaged walls with wallpaper hides the problem but doesn't fix it. Skim coating creates a permanent smooth surface you can paint.
- When to combine methods — large damaged areas are patched first, then the entire wall is skim coated to blend the repairs into a uniform surface.
Cost Factors for Skim Coating in Hoboken
Skim coating is priced primarily by wall area and surface condition. The major cost factors are:
- Wall area / square footage — more wall means more material and more labor.
- Condition of the existing surface — heavily damaged walls require more preparation and more coats of compound.
- Extent of imperfections — walls with widespread cracks, ridges, and texture variations take longer to smooth.
- Whether painting is included — skim-only projects finish paint-ready; skim-plus-paint projects include primer and finish coats.
- Timeline — setting-type compounds speed up turnaround but cost more in materials.
We provide free estimates for all Hoboken skim coating projects. Contact us for a detailed quote based on your specific walls.
After Skim Coating: Preparing for Paint
- Priming skim-coated walls — a high-adhesion primer is essential over fresh joint compound. It seals the porous surface and ensures even paint absorption.
- Paint selection — premium 100% acrylic paints (Benjamin Moore Aura or Sherwin-Williams Emerald) provide the best hide and leveling on a freshly skim-coated wall.
- Finish selection — a smooth skim coat opens up the option of eggshell, satin, or even semi-gloss finishes that would have highlighted imperfections before.
- Color considerations — a flawless wall is the ideal canvas for both light neutrals and bold accent colors.
- Multiple coats — two finish coats over a properly primed skim coat produce the most uniform, durable result.
Need Skim Coating for Your Hoboken Walls?
If your Hoboken brownstone or older home has uneven, patched, or textured walls that no amount of paint will fix, skim coating is the solution. Hudson Line Painters handles skim coating and the finish painting in one coordinated project.
Get a free Hoboken drywall & plaster repair estimate →
Ready to paint after skim coating? Explore our Hoboken interior painting services →
Related reading: our complete guide to plaster repair in Hoboken brownstones and our guide to telling drywall from plaster in Hoboken homes.