Renovations often require wall and ceiling access — and plumbers and electricians leave holes behind. This guide explains the types of drywall damage from renovation work, why proper repair matters, the step-by-step repair process, and how to prepare repaired walls for paint.
Renovations are exciting — until the plumber and electrician leave and you're staring at a wall full of holes. Almost every plumbing, electrical, and HVAC project requires cutting into walls and ceilings for access, and those openings need professional repair before the space looks finished and is ready to paint.
Closing up these holes properly is a distinct skill, and it's one of the most common drywall repair jobs in Hoboken apartments, condos, and brownstones. This guide covers the common types of renovation openings, why proper repair matters, the types of drywall damage you'll encounter, the step-by-step repair process for small and large openings, ceiling-specific challenges, how older plaster walls change the approach, and what to expect for timeline and cost.
Common Renovation Openings
Trades cut into walls and ceilings for a reason. Here are the openings we most often repair after renovation work in Hoboken:
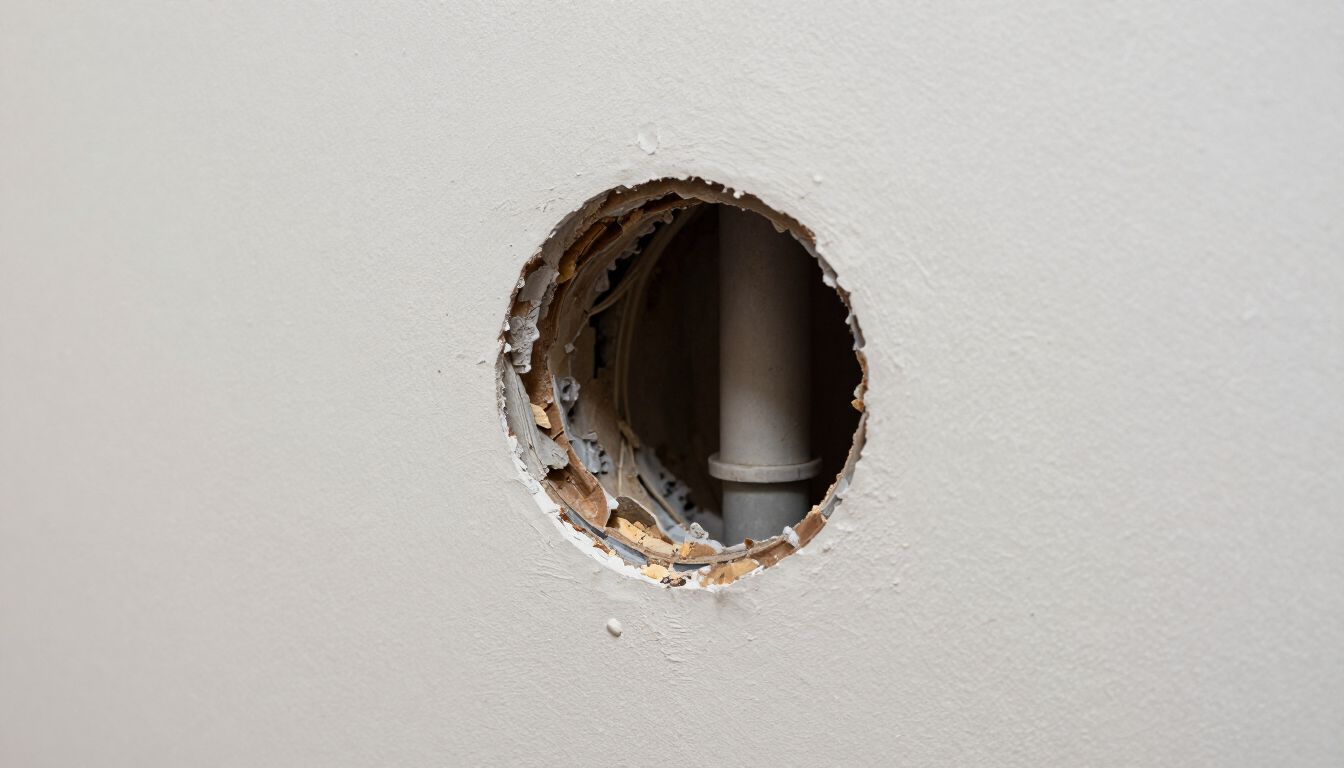
- Plumbing access holes — cut to reach supply lines, drains, and valves behind walls, often in kitchens and bathrooms.
- Electrical outlet and switch cutouts — new boxes for relocated or added outlets and switches.
- Recessed lighting openings — circular ceiling cutouts for new can lights or LED fixtures.
- HVAC ductwork access — larger openings for running or modifying ductwork and vents.
- New pipe and wire runs — channels cut through walls and ceilings to route new plumbing or wiring.
- Ceiling access panels — temporary openings for above-ceiling work that need to be closed up afterward.
Why Proper Repair Matters
It's tempting to hand a homeowner a tub of spackle and call the holes closed. Here's why professional repair is worth it:
- Holes left unprepared look unprofessional. A quick dab of compound over a hole telegraphs through paint and signals "DIY repair" to anyone who looks.
- Improper repair fails quickly. Compound without tape or backing cracks at the edges as the wall moves, and the patch becomes visible within months.
- Affects paint appearance. Even a well-painted wall reveals a bad patch under raking light — ridges, texture mismatches, and shadow lines.
- Affects home value. Visible patchwork is a red flag for buyers and appraisers, especially in Hoboken's competitive real estate market.
- Proper repair is cost-effective. Doing it right once costs less than repairing a failed patch and repainting.
Types of Drywall Damage from Renovation
Not all renovation holes are the same. The repair approach depends on the type of damage:
- Clean cuts — the easiest to repair. A neat, rectangular opening with intact surrounding drywall can be patched efficiently.
- Jagged edges — require more work. Irregular openings need to be squared up or backed before patching.
- Missing material — when a section of drywall has been removed entirely, a new piece must be cut and fitted.
- Damaged surrounding drywall — when the area around the opening is cracked or crushed, the repair extends to sound material and may need reinforcement.
- Multiple holes — when a renovation leaves several openings in one wall, the repair is planned as a single project to ensure a uniform finish.
The Drywall Repair Process
A proper repair follows a defined sequence. Each step builds on the last, and skipping any of them produces a patch that shows.
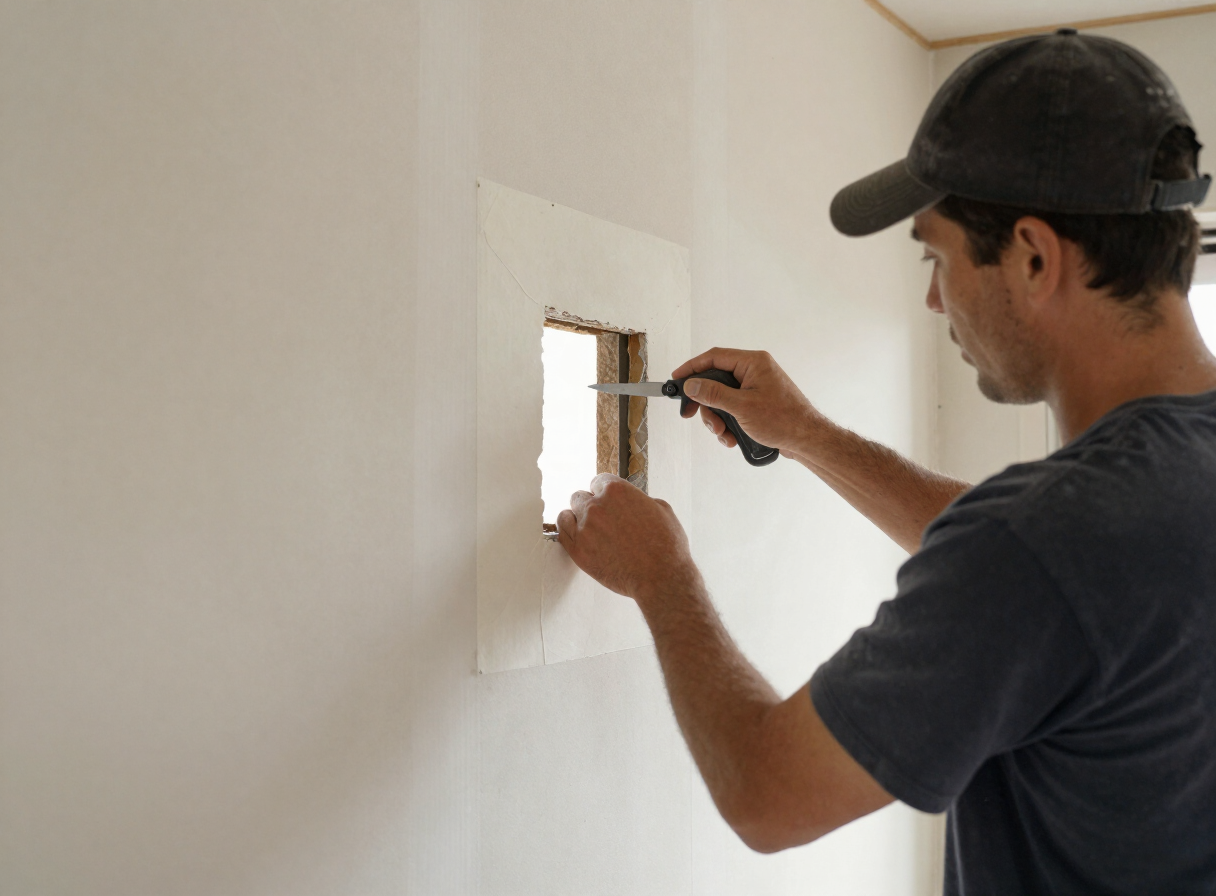
Step 1: Assess the Damage
We evaluate the size, shape, and condition of the opening and the surrounding wall to determine the right repair approach.
Step 2: Prepare Backing and Support
For openings without framing behind them, we install wood backing strips inside the wall to support the patch. Without backing, the patch has nothing to fasten to and will flex or crack.
Step 3: Cut and Fit the Drywall Patch
A new piece of drywall is cut to fit the opening snugly and fastened to the backing or framing.
Step 4: Apply Drywall Tape
Paper or fiberglass mesh tape is applied over the seams between the patch and the surrounding wall to prevent cracking.
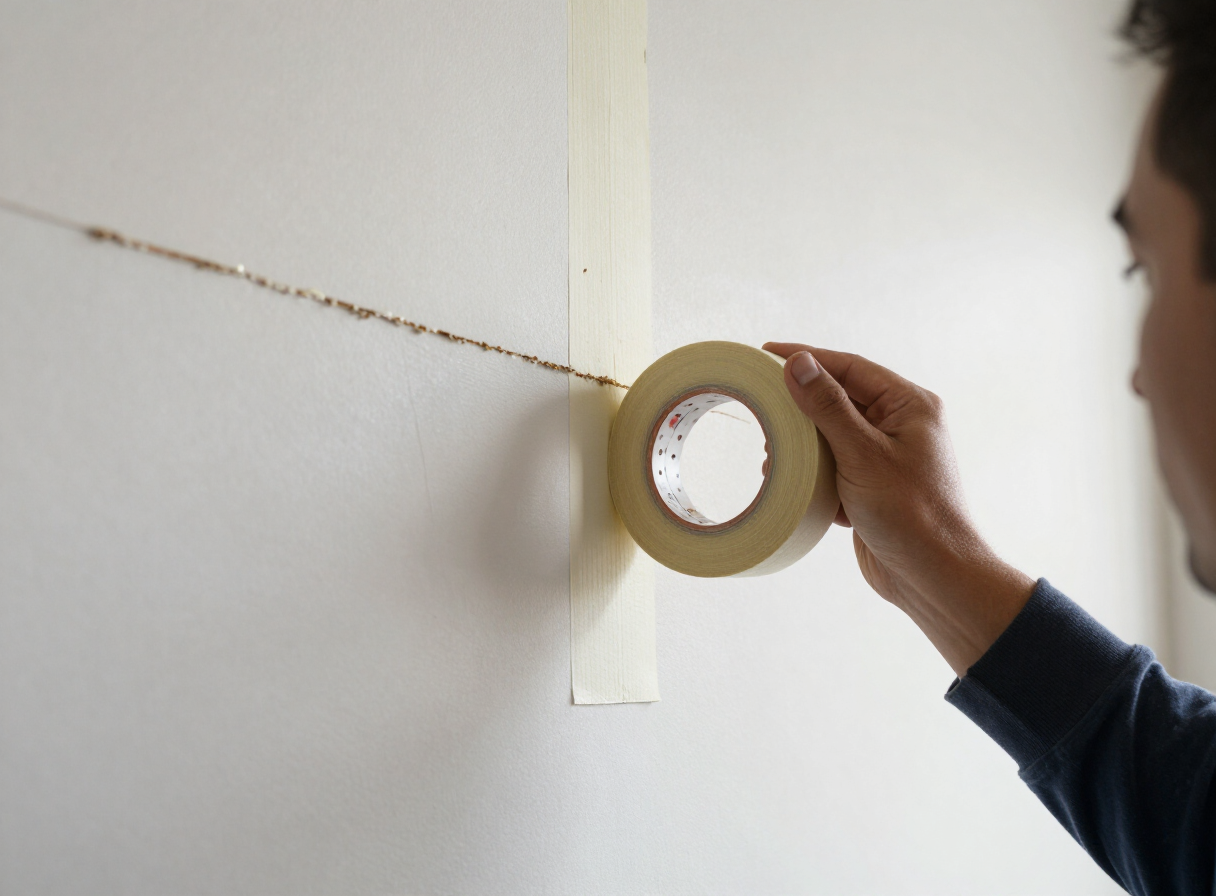
Step 5: Apply Joint Compound
Joint compound is applied over the tape in thin, feathered coats, building up to a smooth surface that blends with the surrounding wall.
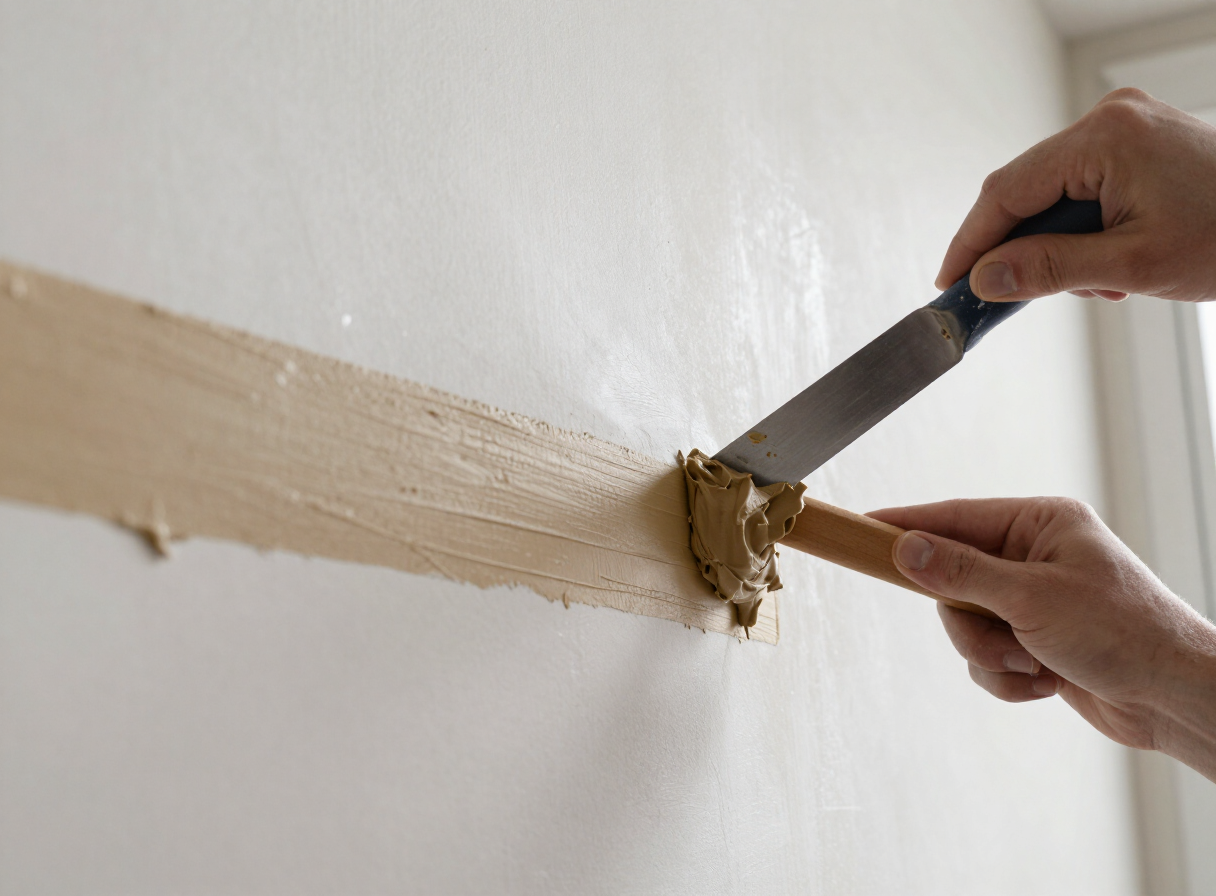
Step 6: Feather the Edges
Each coat is feathered out wider than the last so the transition from patch to wall disappears under the finish coat. Wide feathering is the key to an invisible repair.
Step 7: Sand Smooth
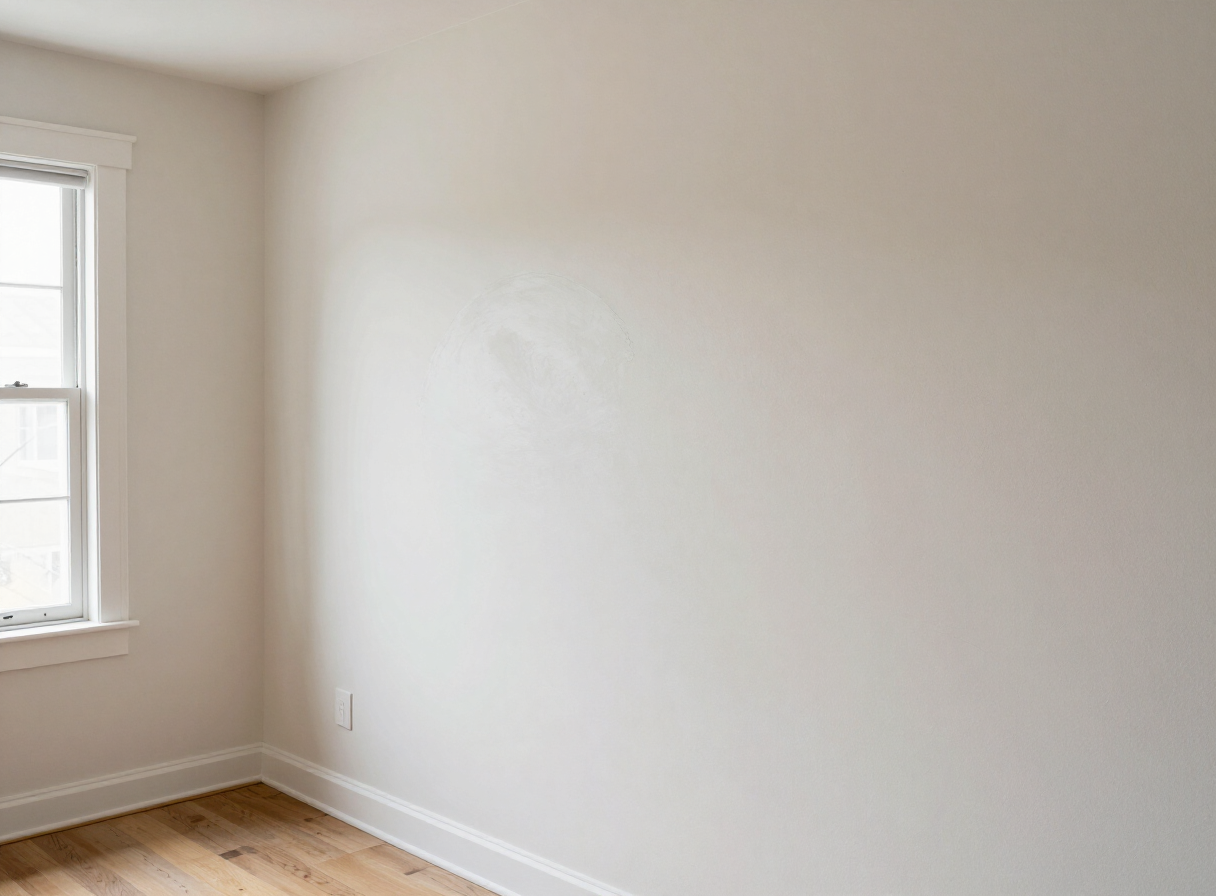
Once the compound is fully dry, the patch is sanded smooth and inspected under raking light to catch any ridges or pits.
Step 8: Prime
A high-adhesion primer seals the fresh compound and ensures uniform paint absorption over the patched area.
Step 9: Paint
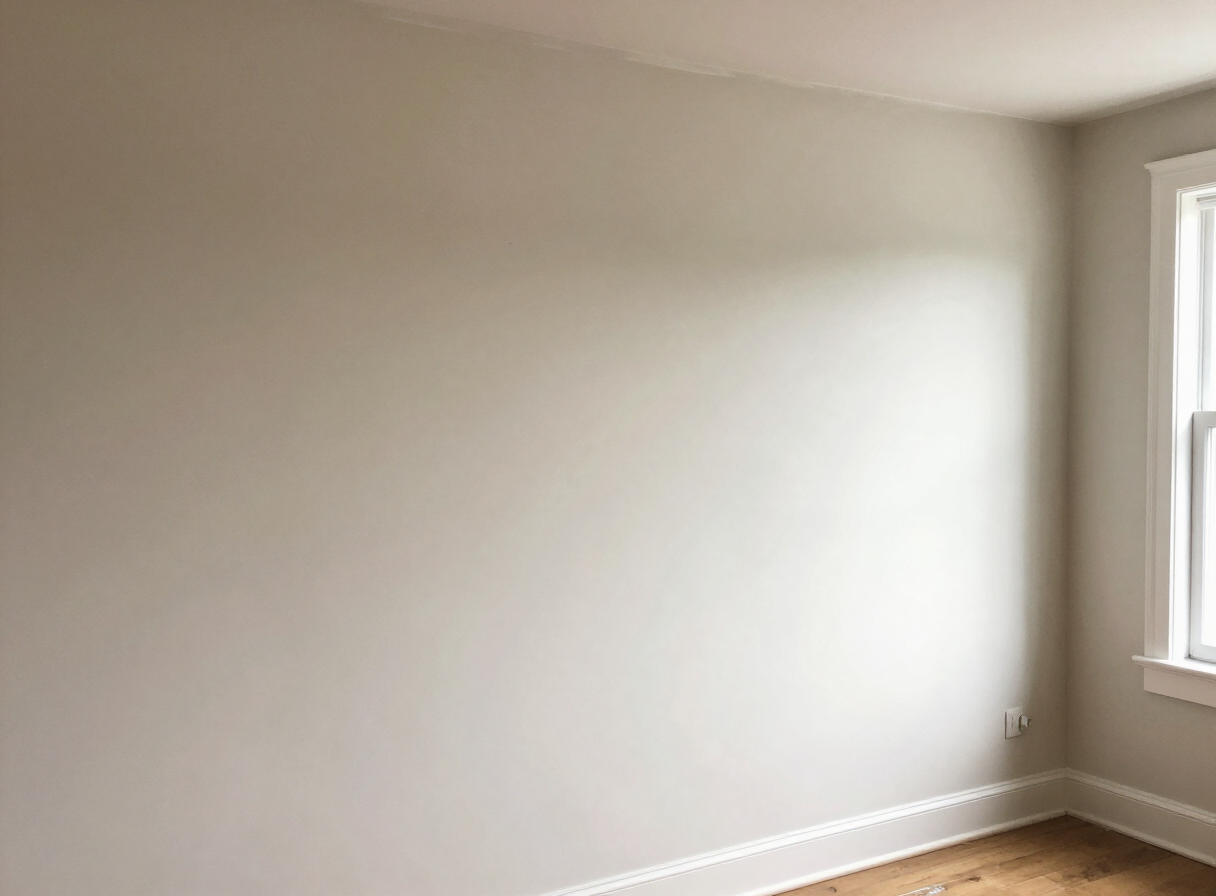
The finish coat is applied. For small patches, touching up the area may suffice; for larger repairs or visible walls, repainting the entire wall produces the cleanest result.
Small Holes (Outlets, Switches, Small Cutouts)
Small openings from electrical work are the most common renovation repair. The process is straightforward but still requires proper technique:
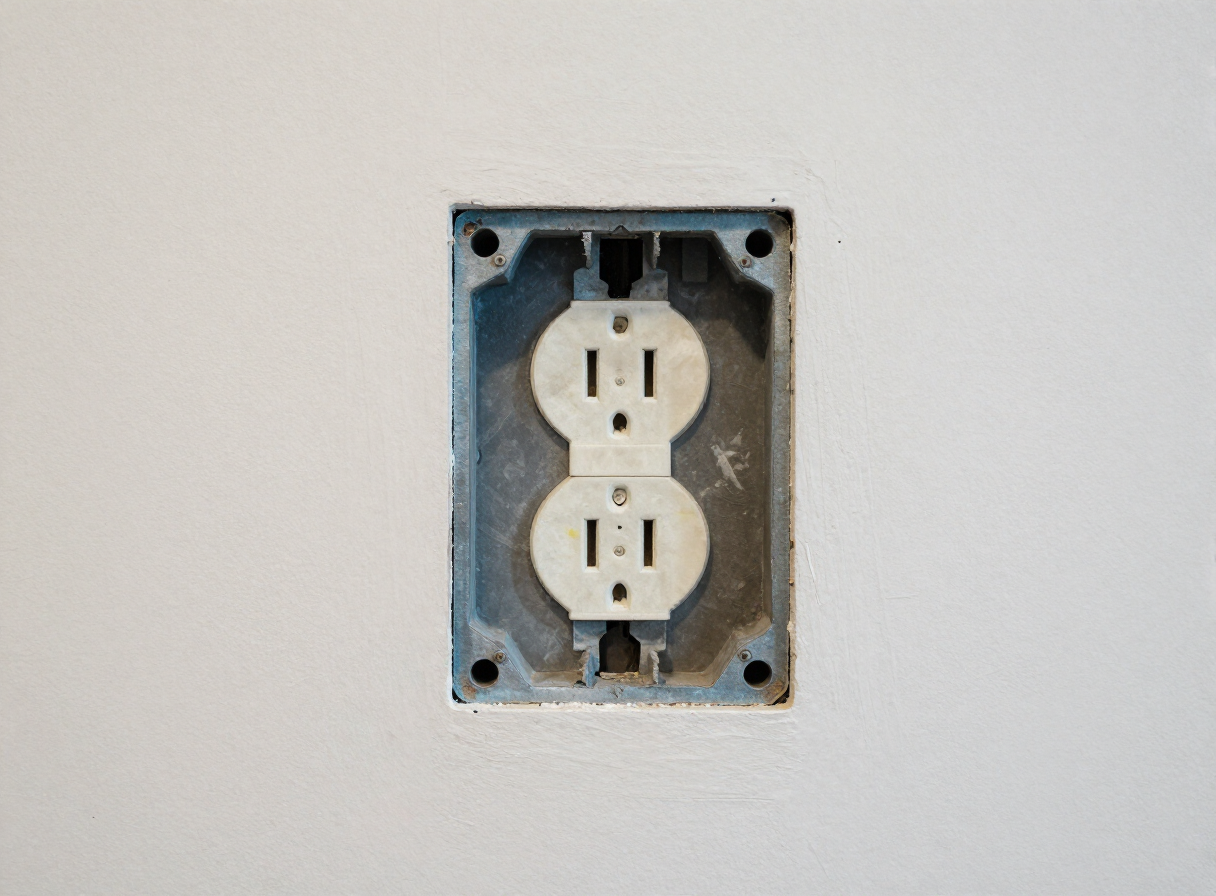
- Patching process — fit a small drywall piece or use a repair patch, secure it, and tape the edges.
- Compound application — apply thin, feathered coats of joint compound, building up gradually.
- Feathering technique — spread each coat wider than the last so the patch blends into the wall.
- Sanding — sand smooth once dry, checking under raking light.
- Priming — prime the fresh compound before painting.
- Painting — touch up or repaint the wall for a uniform finish.
Large Openings (Plumbing, HVAC, Recessed Lighting)
Bigger openings require a new section of drywall and proper backing:
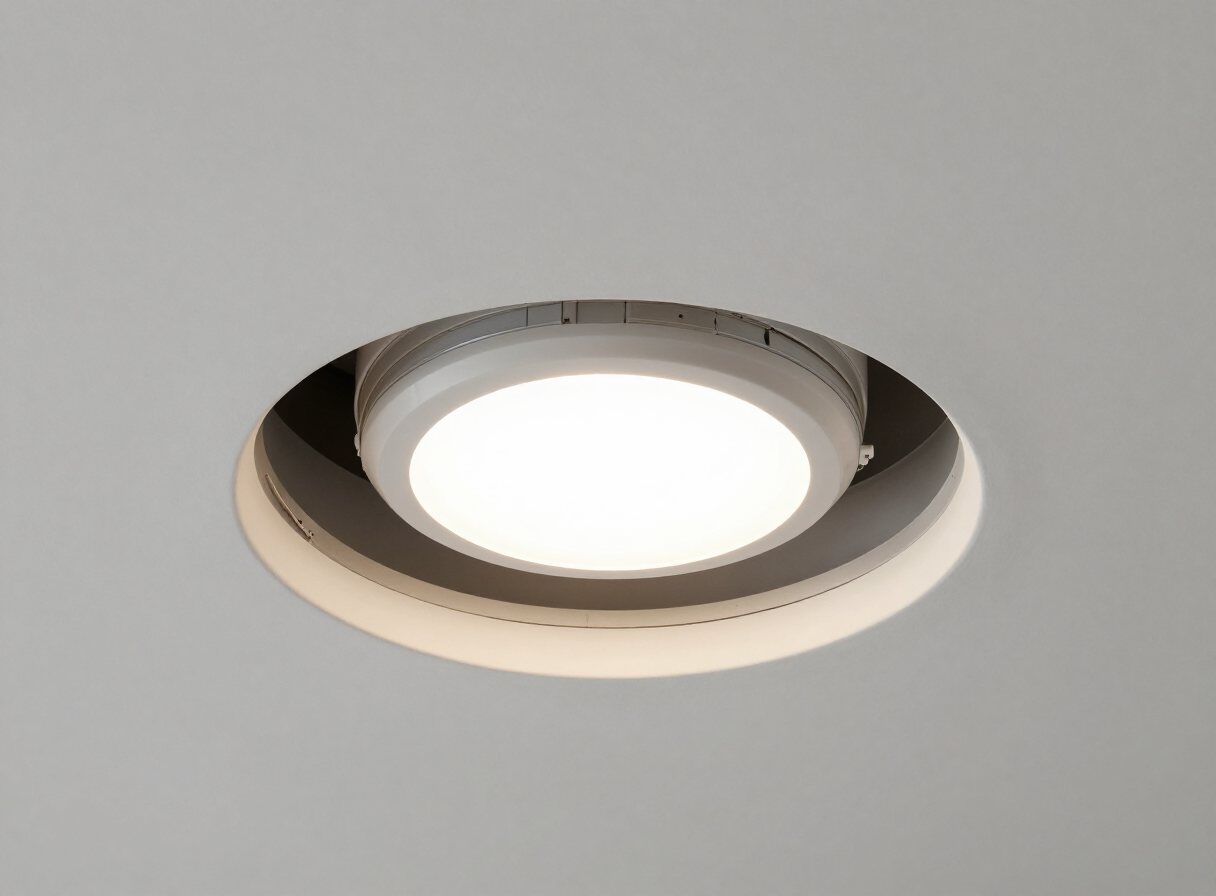
- New drywall section installation — cut a patch to fit the opening and fasten it to backing or framing.
- Backing and framing — install wood supports inside the wall or ceiling if no framing is present.
- Taping and finishing — tape all seams and apply feathered coats of compound.
- Blending with surrounding wall — feather the compound widely so the patch disappears.
- Priming — seal the fresh compound with high-adhesion primer.
- Painting — apply the finish coat, typically repainting the entire wall or ceiling for a uniform result.
Ceiling Repairs
Ceiling repairs add complexity because of gravity and access:
- Ceiling-specific challenges — compound sags if applied too thickly, and sanding overhead is messy and physically demanding.
- Access considerations — ceilings require ladders or scaffolding, and furniture and floors below need protection.
- Compound application on ceilings — thinner coats and setting-type compound prevent sagging.
- Feathering on ceilings — wide feathering is even more important on ceilings, where raking light from windows reveals every ridge.
- Sanding ceilings — done carefully with pole sanders and dust control.
- Priming ceilings — primer seals the compound and prevents flashing under flat ceiling paint.
- Painting ceilings — flat finish is standard; the entire ceiling is typically repainted for a uniform appearance.
Plaster Walls (Older Hoboken Homes)
Many Hoboken brownstones have plaster walls, and renovation openings in plaster require a different approach than drywall:
- Plaster repair after holes — openings in plaster are patched with bonding agents and plaster-based compound, not standard drywall tape alone.
- Different repair approach — plaster is harder and denser than drywall, so the repair must bond to the existing material rather than just bridge it.
- Bonding primers — a bonding primer ensures the patch and finish coat adhere to the dense plaster surface.
- Skim coating if needed — larger plaster repairs often need a skim coat to blend the patch with the surrounding hand-finished surface. (See our skim coating guide.)
- Priming plaster — bonding primer over the repaired plaster before painting.
- Painting plaster — premium acrylic paint applied in finish coats, with the wall typically repainted for a uniform result.
Not sure whether your walls are plaster or drywall? Our guide to telling drywall from plaster in Hoboken homes walks through the diagnosis.
Timeline and Cost
- How long repair takes — small patches may be completed in a day plus drying time; larger openings and ceiling repairs take several days, with drying time between compound coats.
- Cost factors — the number and size of openings, whether backing is needed, ceiling versus wall work, whether the wall is plaster or drywall, and whether painting is included.
- Whether painting is included — repair-only projects finish paint-ready; repair-plus-paint projects include primer and finish coats and typically repaint the entire wall for a uniform result.
- Budget considerations — bundling multiple renovation openings into one repair project is more cost-effective than repairing them one at a time.
We provide free, flat-rate estimates for all Hoboken renovation repair projects. Contact us for a detailed quote based on your specific openings.
Renovation Holes in Your Hoboken Home?
If your plumber, electrician, or HVAC contractor left openings in your walls or ceilings, Hudson Line Painters closes them up properly — and can handle the painting in the same project so the finish coat is never an afterthought. We also partner directly with Hoboken trades who need a reliable drywall repair partner after their work is complete.
Get a free Hoboken drywall & plaster repair estimate →
Ready to paint after repair? Explore our Hoboken interior painting services →
Related reading: plaster repair in Hoboken and drywall vs. plaster in Hoboken.